I found a blog post on pinterest about making your own lotion at home by whipping oils. As am experienced cold process soap maker I was intrigued. I figured I would give it a try and document the process. Quick disclaimer: Be safe. I discuss hot oils and sterilizing jars below. You’re working around heat so take appropriate precautions and keep the kids away from the stove. You take full responsibility for doing any of the steps outlined below. Sorry, just had to say that.
Okay so where to start? A couple things to know about the end product: this is going to be an oil-based lotion. Duh, right? Well it’s worth considering, because most of us are used to buying commercial lotions, which frequently are touted as oil-free. I’ve posted about oil before, once about the oil cleansing method for facial care, and once about pre-shave oil for classic wet shaving. I appreciate oil. It can be difficult to overcome a lifetime of marketing messages that oil is bad, but your skin will love it.
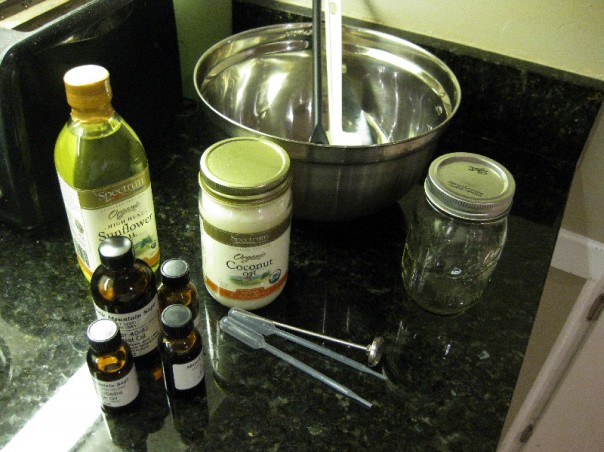
Supplies: liquid oil, solid oil, essential oils, droppers, thermometer, glass jar, non-reactive bowl, spoon, spatula
First, consider your oils. Different oils behave differently at room temperature. As a general rule animal fats are solid at room temperature and vegetable oils are liquid. However, there are oils like coconut and palm kernel that are solid at room temperature, anything below 76 degrees. The nice thing about this temperature point is that it will keep its whipped form in storage but will melt very quickly when applied to your skin.
Coconut oil contains vitamin E, which is fabulous for your skin. It also is mildly anti-microbial in nature, which makes it a good protective barrier. Best of all, it’s stable at room temperature, which means you can keep a batch for a long time before it goes rancid. So whatever combination you use, start with coconut oil as your primary component. I went with a refined organic coconut oil, mostly because it lacks an overwhelming coconutty smell.
The lotion recipe I followed calls for a blend of 75% coconut and 25% liquid oil. It’s up to you to decide which liquid oil you want to use. You could siphon off some of your pre-shave castor/olive oil blend. You could use sweet almond oil. I decided to go with sunflower oil. Sunflower oil is very light, non-greasy, has very little odor. It is extremely high in vitamin E, linoleic acid, palmitic acid and stearic acid, all of which are wonderful for skin. Plus I can cook with the leftovers.
Okay, moving on. Here’s your supply and equipment list:
- 12 oz coconut oil
- 4 oz sunflower (ot other vegetable oil, liquid at room temperature)
- essential oil and droppers
- 1 non-reactive metal pot or double boiler
- 1 spatula
- 1 thermometer
- 1 non-reactive metal or glass bowl
- stand mixer, hand mixer, or immersion blender
- sterilized glass container
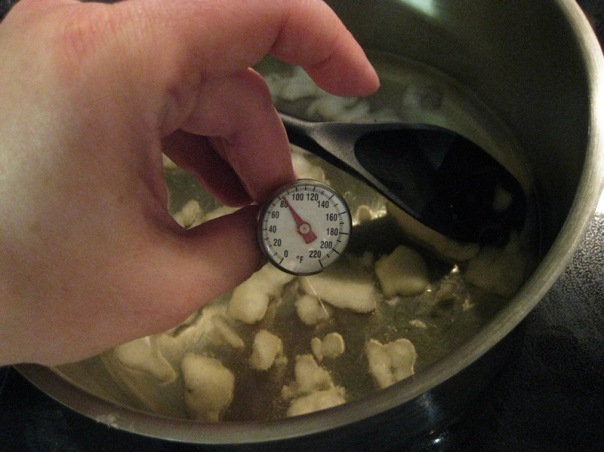
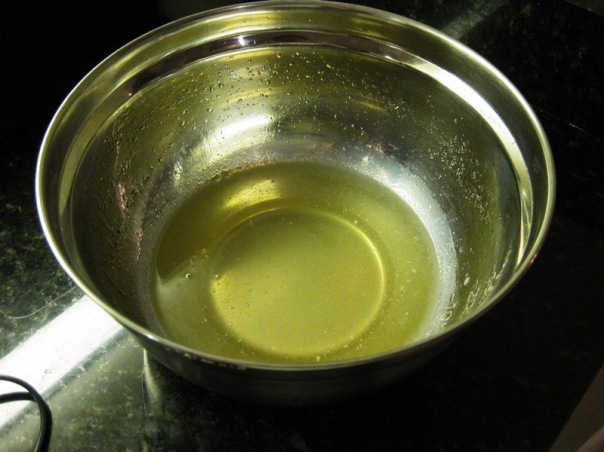
Now you’re going to want to liquify that oil so that they’ll blend together evenly. This is where your thermometer is going to come in handy. Your best option is to use a double boiler, but in soap making I’ve always used a stainless steel pot directly over low heat. It’s up to you. The most important thing, though, is to put it over low heat and let the temperature rise slowly. Oil is a great insulator so it will want to rise quickly and stay hot. Keep your thermometer on hand and try to keep it below 125° F. This is partly to ensure you don’t cook off the lovely beneficial components in the oil, partly to prevent accidental burns, and partly because it takes so long to cool down and you surely want to finish this up in a single afternoon.
Be careful not to let the thermometer touch the bottom or sides of the pot or you’ll get a false reading. Notice how the coconut oil is melting and it’s starting to look like global warming at the north pole. Also notice how it’s looking that way and we haven’t even cracked 100° F yet. Don’t walk away. I can tell you from experience that it’s almost time to cut the heat. The temperature will continue to rise even after your remove it from the stove. I let it sit for maybe a minute more, then removed it. A few minutes later my thermometer topped out at 125° F.
Pour your oil into your stainless steel or glass bowl. Let it sit for a few minutes so the temperature can come down. You want it to cool before adding your essential oils because many essential oils have a much lower flash point than the temperature your base oils were just heated to. Unless you know the flash point of your essential oils, assume you don’t want to add them until your coconut oil blend drops below 100° F.
If you haven’t worked with essential oils much you might be tempted to just put a splash in. Resist that urge. Essential oils are very concentrated and a little goes a long way. Here’s the blend I used. Note how relatively small the amount of essential oil is compared to the 16 ounces of carrier oils we blended.
- 4 drops lavender essential oil
- 4 drops spearmint essential oil
- 3 drops litsea cubeba oil
- 2 drops grapefruit essential oil
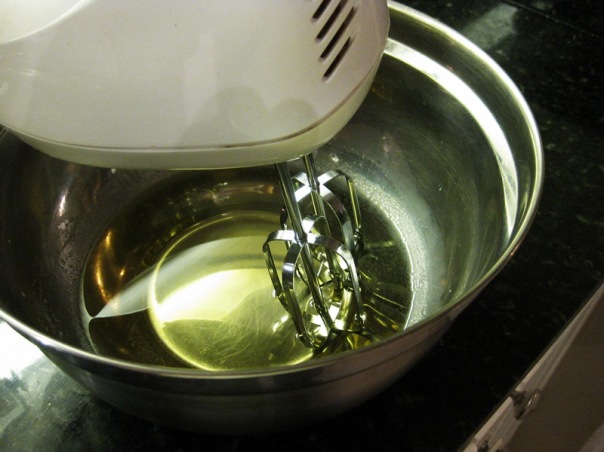
Once you’ve added your essential oils and mixed them in with your spatula you’ll want to get your mixer going.
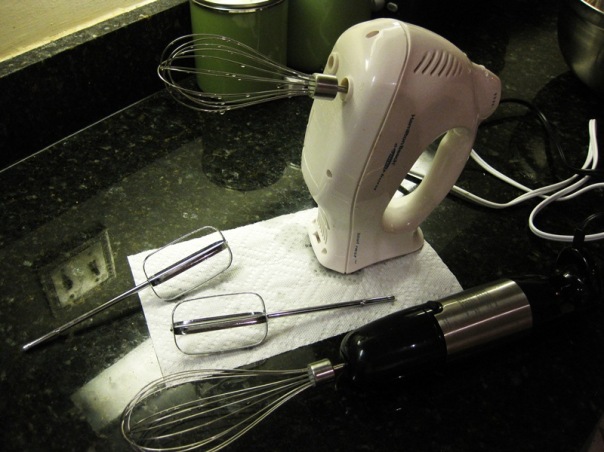
The oil is too warm to set up and get creamy. The point of blending it now is to try to incorporate a bit of air and cool it a bit. I ran my hand mixer for a few minutes, then tried a whisk attachment, then tried an immersion blender with whisk attachment. Frankly the standard hand mixer hardware was best. I don’t own a stand mixer so I can’t say whether it would work more efficiently.
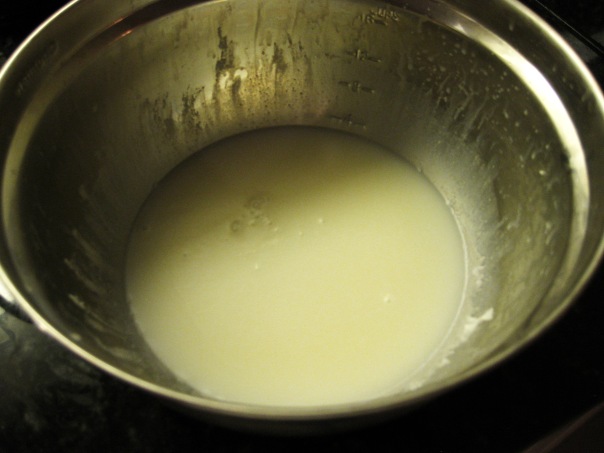
After a few minutes of blending the oil started to thicken. It was still pretty liquid, but it was starting to gel a bit, if you will.
I decided to hurry up the solidification process by sticking it in the fridge for a few minutes. I went and painted my nails, then checked on it. Sure enough, it had firmed up.
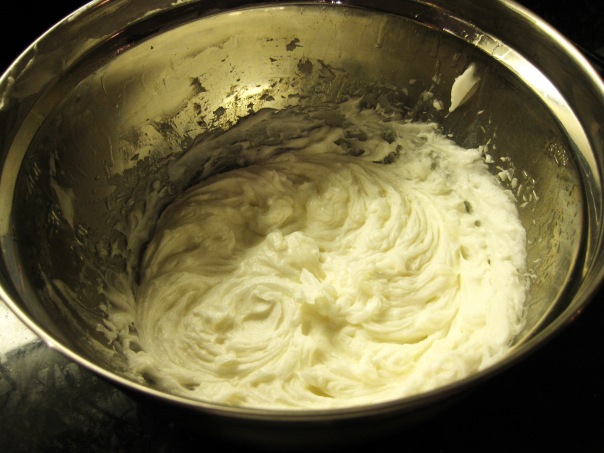
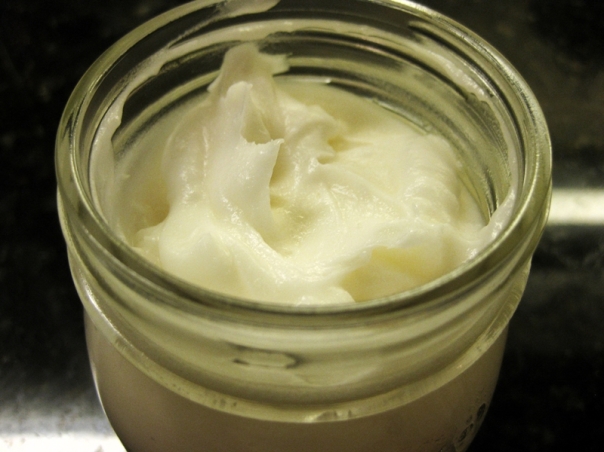
Now we’re getting somewhere. The oil was firm to the touch. I put the mixer back in and started whipping away. In no time it turned into a gorgeous creamy texture. The mixing part is now essential because if you stop too soon you’ll have solid chunks in there.
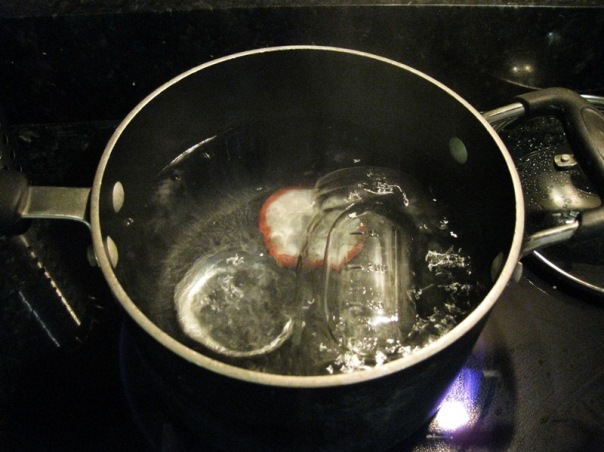
Good enough to eat! But don’t. The sunflower and coconut oils are food grade, but those essential oils are not. Plus it probably wouldn’t be very tasty. Anyway, once you’ve got it all whipped and creamy you can transfer it to your jar. Speaking of which, did you sterilize your jar? You should. You don’t want little microbes in there making your oils all rancid, do you?
Don’t skip the cleanliness, people. You’re making something you’re going to put on your skin. Work clean, and keep it sanitary. And use tongs, for pete’s sake, that’s boiling water you’re looking at there.
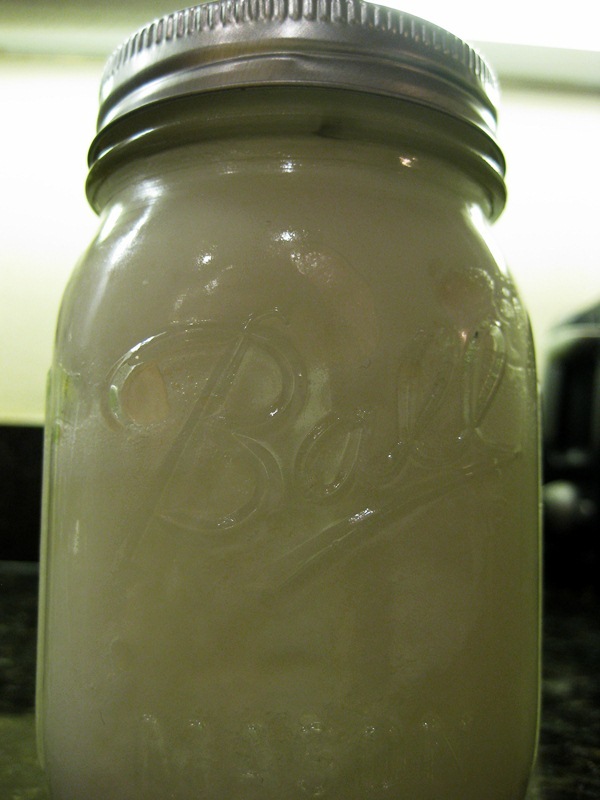
And that’s it. The 16 oz batch whipped up to just slightly more than could fit in my mason jar. I put the overage in a little container and put it in the fridge. when I have room I’ll warm it to room temperature and incorporate it into the jar.
That’s all there is to it. Slap a label on it, put a bow on it, give it as a gift. Keep it in a cool place. It’s soft enough that you could probably keep it in a pump-style bottle, too. Apply it just a tiny bit at a time. This is an oil-based lotion, so you won’t want or need a big dollop like you get out of a bottle of Jergens.
Here’s how the final batch looks in the jar. It will take some tapping to get the air bubbles out so you can fit the most in. As you can see I still have some bubbles in mine.
I hope this tutorial helps. Enjoy!
Update: I used this lotion on my legs this morning as a post-shave moisturizer. Holy cow is it wonderful! Not nearly as greasy as I thought it might feel. The sunflower oil gave it a perfect texture and it smoothed on easily. It’s been several hours and my legs still feel satiny smooth. Totally luxurious feeling. A++++ would make again!

Alchemy Science’s Joint and Muscle Lotion provides deep, penetrating relief for hours.Provides long-lasting relief. A smooth, fast-absorbing lotion with more CBD ounce for ounce than any other topical on the market! Our lotion is also a better value than any CBD topical.best lotion for sore muscles
ReplyDelete