Family Farm

Family Farm
Showing posts with label Body. Show all posts

Sunday, March 11, 2012

Chamomile

http://www.surrealgardening.com/herbs/chamomile.htm

Chamomile
The Chamomile flower has traveled so far back into our ancient civilizations that the ancient Egyptians dedicated this delicate flower to their Sun God and held it above all other herbs for its healing qualities. In today’s day and age it has become one of the most widely used flowers for herbal tea. It is an analgesic (pain reliever) as well as an antispasmodic (calms nerves). This highly respected flower’s oil has been said to be one of the most powerful anti-inflammatory essential oils in aromatherapy. It also has a way about reducing a fever with its high azulene.
The High azulene content is what causes the German Chamomile to have that beautiful blue color. It can be used as a mild sedative and is good for insomnia as well as many other nervous conditions. The sedative properties can help soothe teething children and those who have been in a highly emotional state over a long period of time. Chamomile essential oil has such a sedative action it is known to have a soothing, tranquilizing and calming effect upon the mind and emotions. It is especially beneficial for treating migraine or nervous headache and other stress-related complaints. It helps relieve nervous tension and anxiety. . It has an antispasmodic effect that is highly effective for soothing abdominal or period cramps as well as nausea.
The German Chamomile oil has also been known to stimulate the production of red blood cells as well as relieve a variety of aches and pains. Chamomile has a long history of helping skin conditions such as dermatitis, abscesses, and boils. It also helps with acne, sores, cuts, skin rashes, eczema and psoriasis. Chamomile balances sebum production and is very useful for both oily and dry hair and scalp conditions as well as sensitive types. It is often used in skin care for treating burns and cuts.

100% Pure Therapeutic Grade Essential Oils from Glenbrook Farms

Chamomile is a member of the ragweed family so it might aggravate those with allergies. Use Chamomile in a diffuser, or vaporize it in a bowl of hot water to help ease depression and symptoms of PMS.
The effect of using Chamomile alone is wonderful but you could choose a blend of emotionally supportive oils such as Atlas Cederwood , Himalayab Cederwood, Clary Sage, Frankincense, Geranium Bourbon, Helichrysum, Lavendar, Neroli, Orange, Petitgrain, Rose, Sadalewood, Vetiver. And if you are just looking for good smells Chamomile blends well as well with; bergamot, geranium, jasmine, rose, eucalyptus, lemon, marjoram, palma rosa and sandalwood.

Make Your Own Pure and Natural Bath Salts

Natural Bath Salts

Making your own natural bath and body products can be a fun hobby. You don’t have to sniff through aisles of products filled with unnatural ingredients and artificial fragrances; instead, you are in charge. You can mix up your own custom blend that soothes your senses and saves the sinuses.
If you decide to create your own bath salts, varieties of purely natural options are at your disposal. When you’ve found your favorite base, I suggest purchasing it in bulk from an online source, simply because it is much more economical. However, it is important to be aware that not all sources of salt are created equal. Unfortunately, there are providers that blend a small amount of premium salt with a lesser grade, and yet it retails at full price. Sometimes minerals can be removed from the salt thus creating an inferior product. Also, beware of bleached white salt because it is a sure sign that valuable minerals have been removed. Since you are investing time into making your own blend, spend a few moments to make sure you’re using a high-quality base.
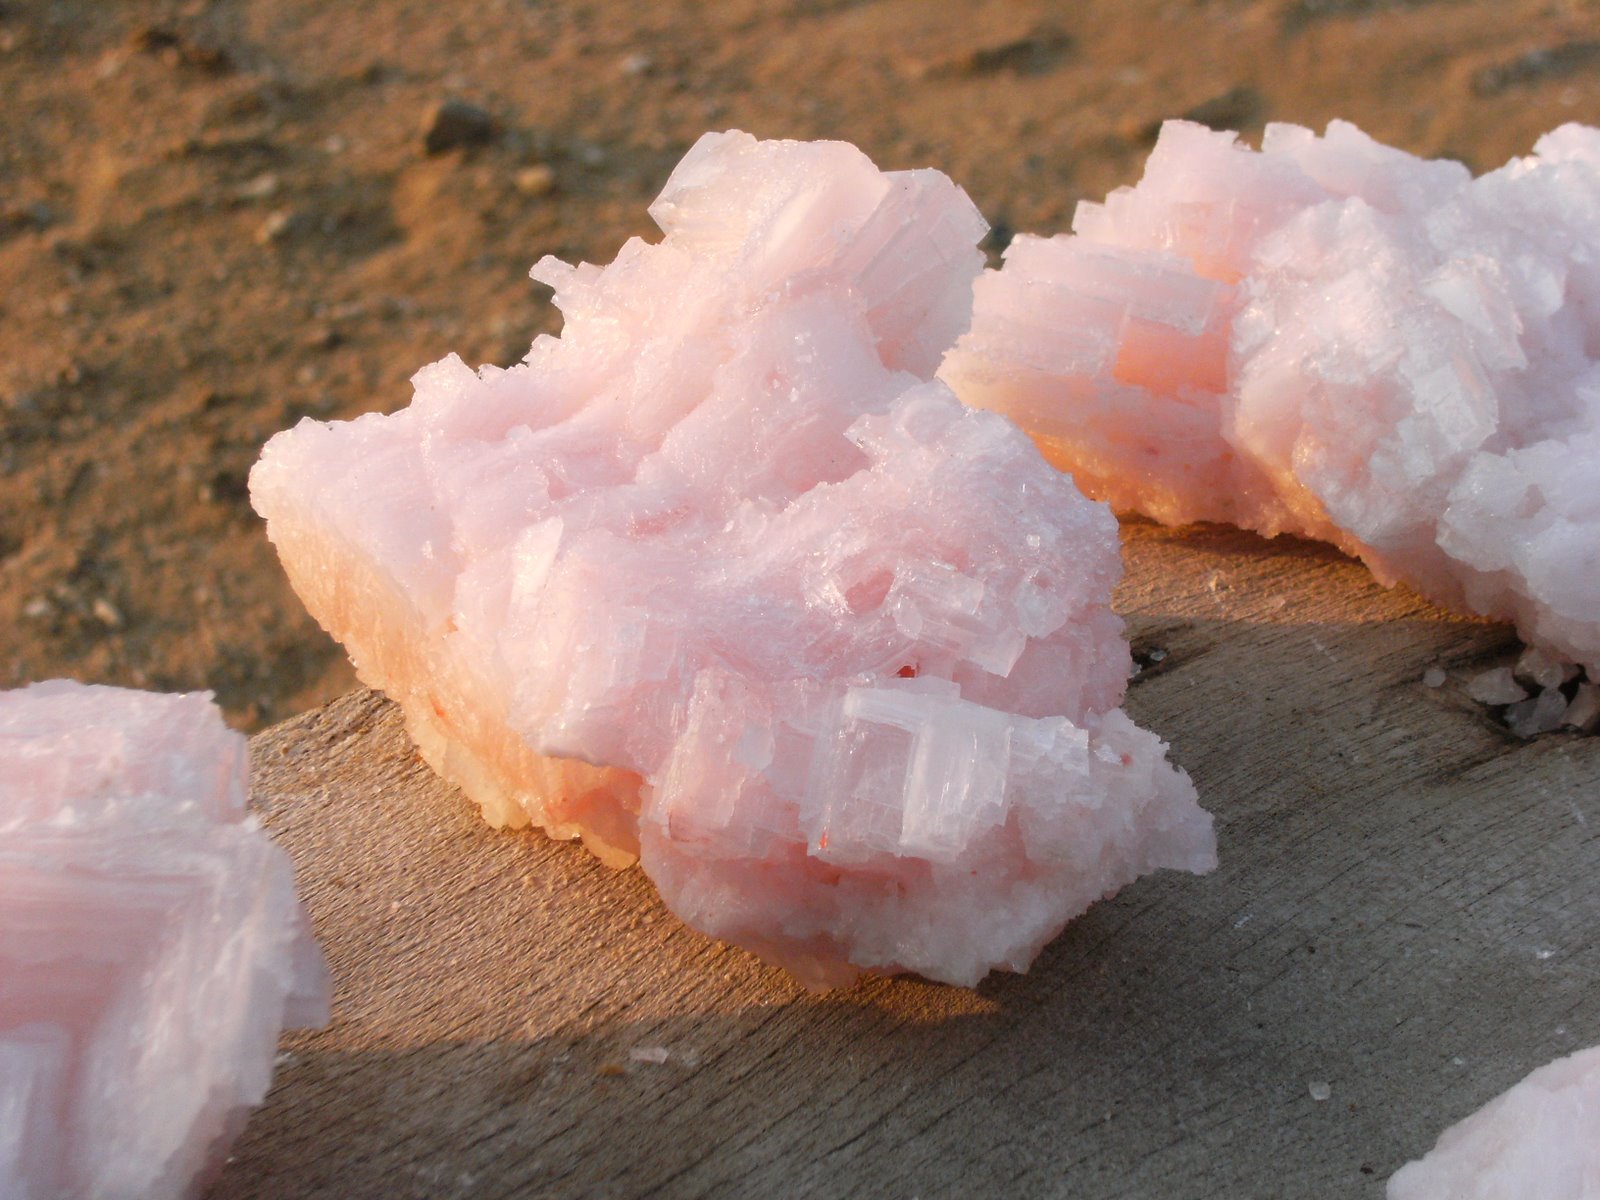
As a base, I recommend using Dead Sea salt. It is very economical and has so many wonderful benefits. This salt, originating in Israel, contains over 21 minerals essential to our bodies and has been known to ease many skin conditions. Another favorite of mine is Himalayan pink salts. The color is simply beautiful and the benefits are well worth the extra price. This healing, skin smoothing salt is said to contain over 80 valuable elements. Plus, it is said to be the purest salt on the market.
Once you have found your base, it is time to decide on scent. I prefer to use pure essential oils to synthetic fragrance oils. The crumb cake bath fragrance might smell heavenly, but we are trying to make something as close to nature as possible. Your body will thank you for steering away from the chemical alternatives. It is important to be aware that not all essential oils are recommended for bath products, so do your homework. Some of my favorites are peppermint, rosemary, lavender, grapefruit and lime. You can create your own unique blends by adding two or more essential oils to your recipe.
Your imagination is the limit when it comes to the creative process of blending your own fragrance.
If you would like to give your bath salts as a gift, I recommend reusing glass jars that you might find around the house. If the lid gives away the clue to the jar’s first purpose, simply paint over it with acrylic paint. Another fun thing to do is layer Dead Sea Salt with Himalayan salt. The colors are beautiful, and the presentation is quite impressive.

Pure and Natural Bath Salts

  • 4 C. salt
  • ½ oz. Pure essential oil
I like to use plastic shoeboxes to mix my bath salt in. Simply pour in your salt base of choice and add your essential oil(s). Blend thoroughly with a stainless spoon and cover with lid.
Note: You might find that you prefer either a lighter or a heavier scent; if so, simply reduce or increase the amount of essential oil you use. Just remember: when the salts dry, the scent will be reduced.
Have fun while creating your own blends and relaxing to the finished product!

http://www.organicsoul.com/make-your-own-pure-and-natural-bath-salts/

Reusable Crocheted Bandages

http://preppergal11.wordpress.com/2012/03/06/reusable-crocheted-bandages/

Reusable Crocheted Bandages
I’d like to start out by saying this is not my pattern, I lay no claim to it. I got it from @yycbusymom and she got it somewhere else. If it’s your pattern, let me know.
So anyways, the idea is to make a bandage that is durable and reusable in a SHTF scenario. These bandages are easily made and can be boiled or bleached or washed to use again. Obviously there is a concern about blood borne diseases but I wouldn’t be reusing one unless I knew who it was on and what they have/don’t have. So family yes, strangers no, you can keep it, it’s really ok.
To make these bandages you need a 2mm sized crochet hook and #10 cotton crochet thread (both available at Wal-Mart or any craft store).
To start, chain 26 stitches. Turn and single crochet into your last stitch (there by making your bandage 25 stitches long.) Single crochet across your row. At the end, chain one, turn and single crochet into the first stitch.
Continue to single crochet the bandage until the desired length is reached. (You can do several, some 3′, some more. Yycbusymom was going to do some 10′ in case of a chest wound etc.)
When you’re done, tie off like you normally would, roll the bandage and put it into a plastic bag to protect it. (If you’re like me, you’ll have to wash it first, too much stuff gets on it while you’re making it).

75 Extraordinary Uses for Baking Soda

http://lifehackery.com/2008/07/22/home-4/


Baking soda is a chemical compound that appears as a fine powder. It releases bubbles of carbon dioxide when it interacts with an acid and a liquid. It’s most commonly used in baking, where it acts as a leavening agent. The following are 75 other uses for baking soda aside from making muffins soft and fluffy.
Health Uses
1. Use it as an antacid.
2. Use it as underarm deodorant by applying it with a powder puff.

deodorant
3. Mix half a teaspoon with peroxide paste and use it as toothpaste.
4. Use it as a face and body scrub.
5. Add a cup to bathwater to soften your skin.
6. Relieve skin itch from insect bites and pain from sunburn.
7. Remove strong odors from your hands by rubbing them with baking soda and water.
8. Put two tablespoons in your baby’s bathwater to help relieve diaper rash.
9. Apply it on rashes, insect bites, and poison ivy irritations.
10. Take a baking soda bath to relieve skin irritations.
11. Heartburn? Take a teaspoon of baking soda mixed with one-half glass of water.
12. Freshen your mouth by gargling half a teaspoon of baking soda mixed water.
gargling
13. Relieve canker sore pain by using it as mouthwash.
14. Use it to relieve bee stings.
15. Use it to relieve windburns.
16. Apply it on jellyfish sting to draw out the venom.
17. Unblock stuffy nose by adding a teaspoon of baking soda to your vaporizer.
In the Home
flower vase
18. Keep cut flowers fresh longer by adding a teaspoon to the water in the vase.
19. Put out small fires on rugs, upholstery, clothing, and wood.
20. Put an open container of baking soda in the fridge to absorb the odors.
21. Sprinkle it on your ashtrays to reduce bad odor and prevent smoldering.
22. Sprinkle it on your slippers, boots, shoes, and socks to eliminate foul odor.
23. Turn baking soda into modeling clay by combining it with one and 1/4 cups of water and one cup of cornstarch.
24. After feeding your baby, wipe his shirt with a moist cloth sprinkled with baking soda to remove the odor.
25. Wipe your windshield with it to repel rain.
26. Improve the smell of dishrags by soaking them in baking soda and water.
27. Suck it in with your vacuum cleaner to remove the odor.
28. Freshen the air by mixing baking soda with your favorite perfumed bath salts. Put the mixture in small sachet bags.
29. Restore stiff brushes by boiling them in a solution of 1/2 gallon of water, 1/4 cup of vinegar, and a cup of baking soda.
30. Put it under sinks and along basement windows to repel cockroaches and ants.
31. Scatter baking soda around flowerbeds to prevent rabbits from eating your veggies.
32. Sweeten your tomatoes by sprinkling baking soda on the soil around your tomato plants.
33. Sprinkle it onto your cat’s litter box to absorb the bad odor.
34. Sprinkle it on your pet’s comb or brush to deodorize their fur and skin.
In Cooking
35. Use it as a substitute for baking powder by mixing with it with cream of tartar or vinegar.
36. Wash fruits and vegetables with it.
washing vegetables
37. When boiling a chicken, add a teaspoon of baking soda to the water. Feathers will come off easier, and the flesh will be clean and white.
38. Soak dried beans to a baking soda solution to make them more digestible.
39. Remove the distinctive taste of wild game by soaking it in a baking soda solution.
40. Make a sports drink by mixing it with boiled water, salt, and Kool-Aid.
41. Remove the fishy smell from your fillets by soaking the raw fish in a baking soda solution for an hour inside the fridge.
42. Make fluffier omelets by adding half a teaspoon of baking soda for every three eggs used.
omelet
43. Reduce the acid content of your tomato-based recipes by sprinkling them with a pinch of baking soda.
Cleaning Purposes
44. Add a cup to the toilet, leave it for an hour, and then flush. It will clean the toilet and absorb the odor.
flushing toilet
45. Use it to scrub sinks, showers, plastic and porcelain tubs
46. Spray it on walls, mirrors, and countertops.
47. Add a spoonful to your dishwasher to make scrubbing dishes easier.
48. Remove grease from pots and pans.
49. Dry clean carpets and upholstered furniture by sprinkling baking soda over the fabric and gently brushing it. Leave it for an hour or overnight, then vacuum.
50. Boost your laundry detergent’s cleaning power by sprinkling a handful on dirty clothes.
51. Combine it with water to make a paste for polishing stainless steel and chrome.
52. Remove scratches and crayon marks from vinyl floors and walls.
53. Clean your shoes with it.
cleaning shoes
54. Clean garbage cans with it.
55. Use it to wash diapers.
56. Clean the fridge with it.
57. Soak brushes and combs in a baking soda solution.
58. Mix it with water to wash food and drink containers.
59. Put three tablespoons of baking soda to a quart of warm water, then use the mixture to wash marble-topped furniture.
60. Absorb it with a damp sponge, then clean Formica countertops with the sponge.
61. Use it to get rid of stale odors from cooling containers and thermos bottles.
62. Run your coffee maker with a baking soda solution, then rinse.
63. Combine with hot water to clean baby bottles.
64. Sprinkle it on barbecue grills, then rinse it off.
65. Scatter it on your greasy garage floor, scrub the floor, and rinse.
66. Remove burned-on food from a pan by soaking it in a baking soda solution for 10 minutes before washing.
67. Clean your ashtrays with a baking soda solution.
68. Keep your drains clean by putting four tablespoons of baking soda in them each week. Flush it down with hot water.
69. Clean your shower curtains by soaking them in baking soda and water.
70. Put it on a small brush to rub canvas handbags clean.
71. Use it to remove melted plastic bread wrapper from a toaster. Sprinkle baking soda on a damp rug, then use the rug to clean the toaster.
72. Use it to clean your retainers and dentures.
cleaning dentures
73. Make a thick paste of baking soda and water, and used it to scrub enameled cast iron and stainless steel.
74. Mix four tablespoons of baking soda with a quart of warm water, and use it to clean the inside part of an oven.
75. Use it to unclog gas stoves.
The most amazing thing about baking soda is that it’s very cheap. You can do all these things for a very small cost. Baking soda is truly a miracle product, whether it’s used for baking or not.

Homemade Teething Cream


Right, so, “teething cream” sounds super weird.  No?  But here’s the thing.  You can buy teething gel at the store.  I’m not entirely sure how to make a gel at home with safe ingredients…nor am I sure that it’s the most effective idea.
But last week we ran out of teething tablets.  They started putting child proof caps on the Hyland’s brand stuff, but who are they kidding…both my 2.5 and 4 year olds can pop that thing off like it’s nothing.  And if they do, and we don’t catch them immediately, they eat some.  Those tablets are lactose-based and they are sweet.  The kids know they are medicine but they will tell stories to get some: “I’m sick!  I’m teething!  I NEED MEDICINE!”  We have tried to keep them up high, but they are often sitting on my nightstand since that is where I use them most (at night, for the baby).  I ask a kid during the day to go fetch a diaper, not remembering they are sitting right there…and next thing I know, they’ve eaten 2 or 3 or 5.  (No, this can’t and hasn’t made them sick.)  Anyway, the point is, the teething tablets were gone.
Even though we have an amber teething necklace, which the boys wear 24/7 (although Daniel is no longer teething, he just likes it), there are still random times when the pain is enough to make Jacob edgy and restless, which makes for a poor night’s sleep.  Teething tablets have been the perfect answer to take away whatever dull ache or slight pain that keeps him up at night.  And then we ran out.
Creative genius that I am (ha?), I thought, “What can I use at home to help him?”  Because I did not want to run to the store.  I remembered that clove essential oil is good for teething pain, and I had that.  But what to pair with it….  Several minutes of brainstorming later, and one quick search for an ingredient I haven’t used in months, and I had my answer.
Teething cream.
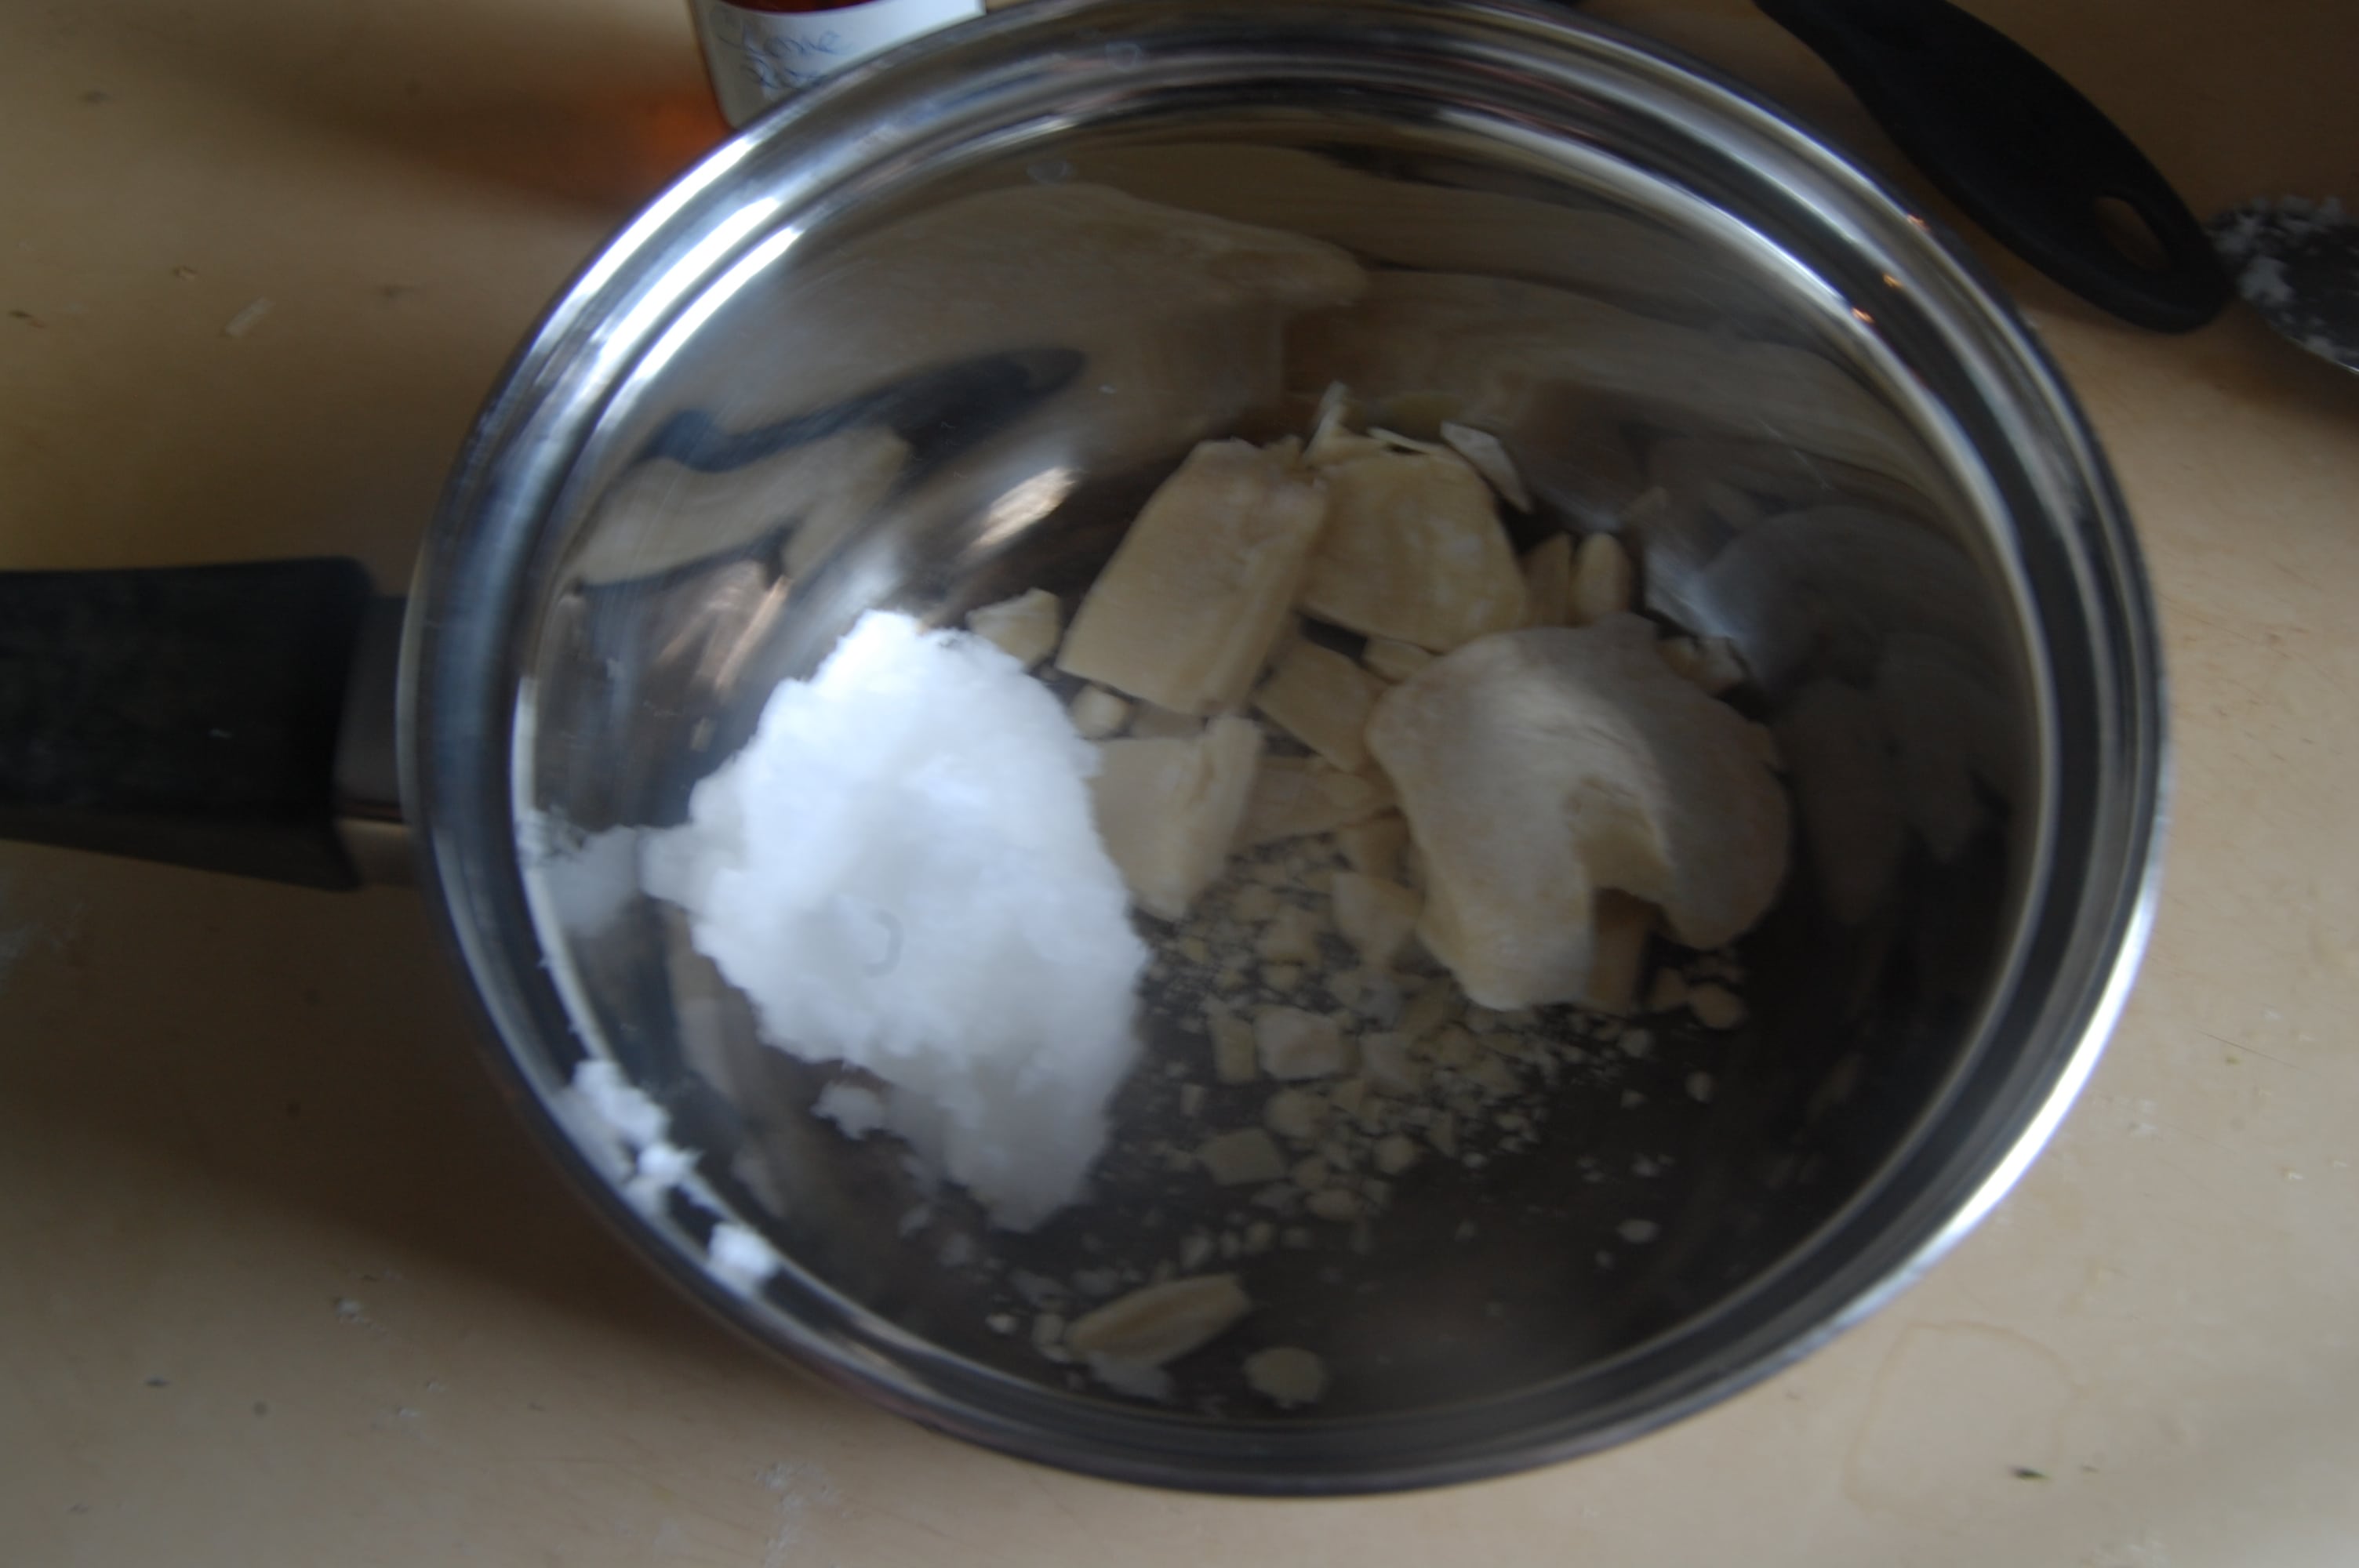
This formula combines coconut oil, cocoa butter, and clove essential oil for a creamy, stick-to-the-gums, totally edible and safe cream that also happens to relieve pain.  Ideally, use a high quality, edible essential oil.  Very, very little would get to the baby with any given dose though…far less than one drop.  Buy the best you can but don’t worry too much.
Ingredients:
  • 1/4 c. coconut oil
  • 1/4 c. cocoa butter (food grade pure, not cocoa butter-based beauty product)
  • 12 drops clove essential oil
Directions:
Add your coconut oil and cocoa butter to a small saucepan.

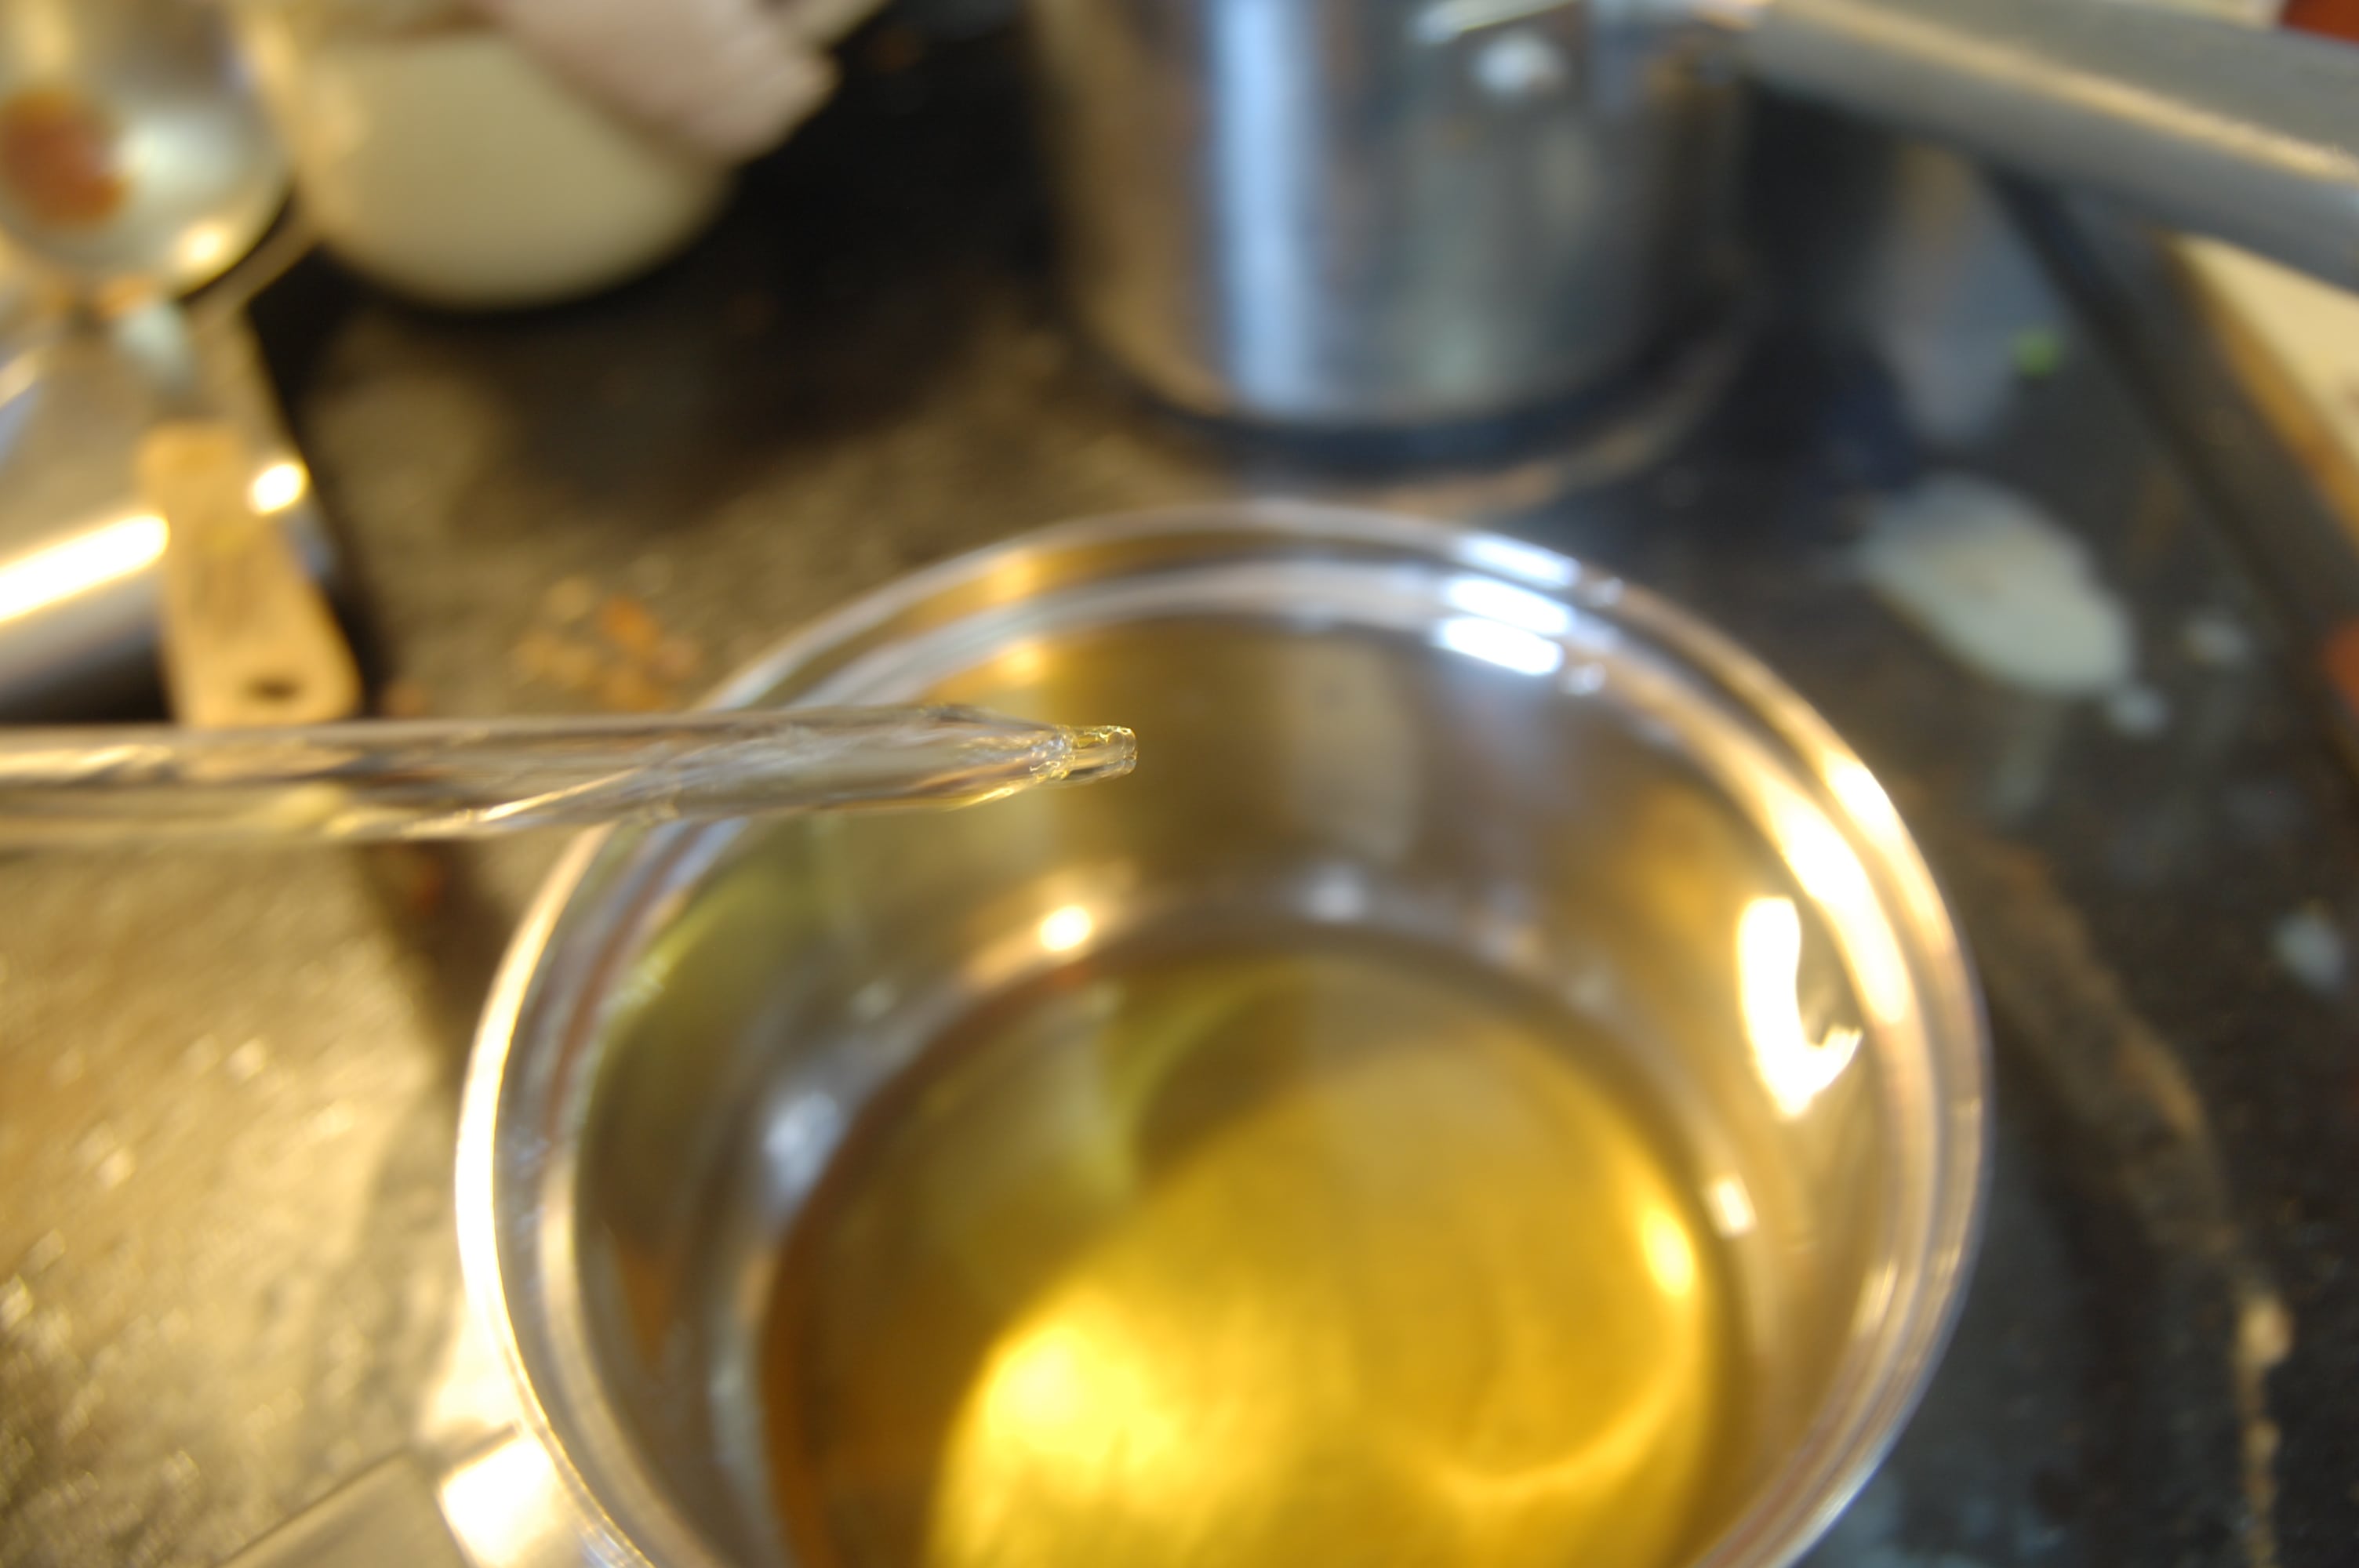
Place the pan on the stove over low heat until they are just melted.  Add your clove oil and stir well.

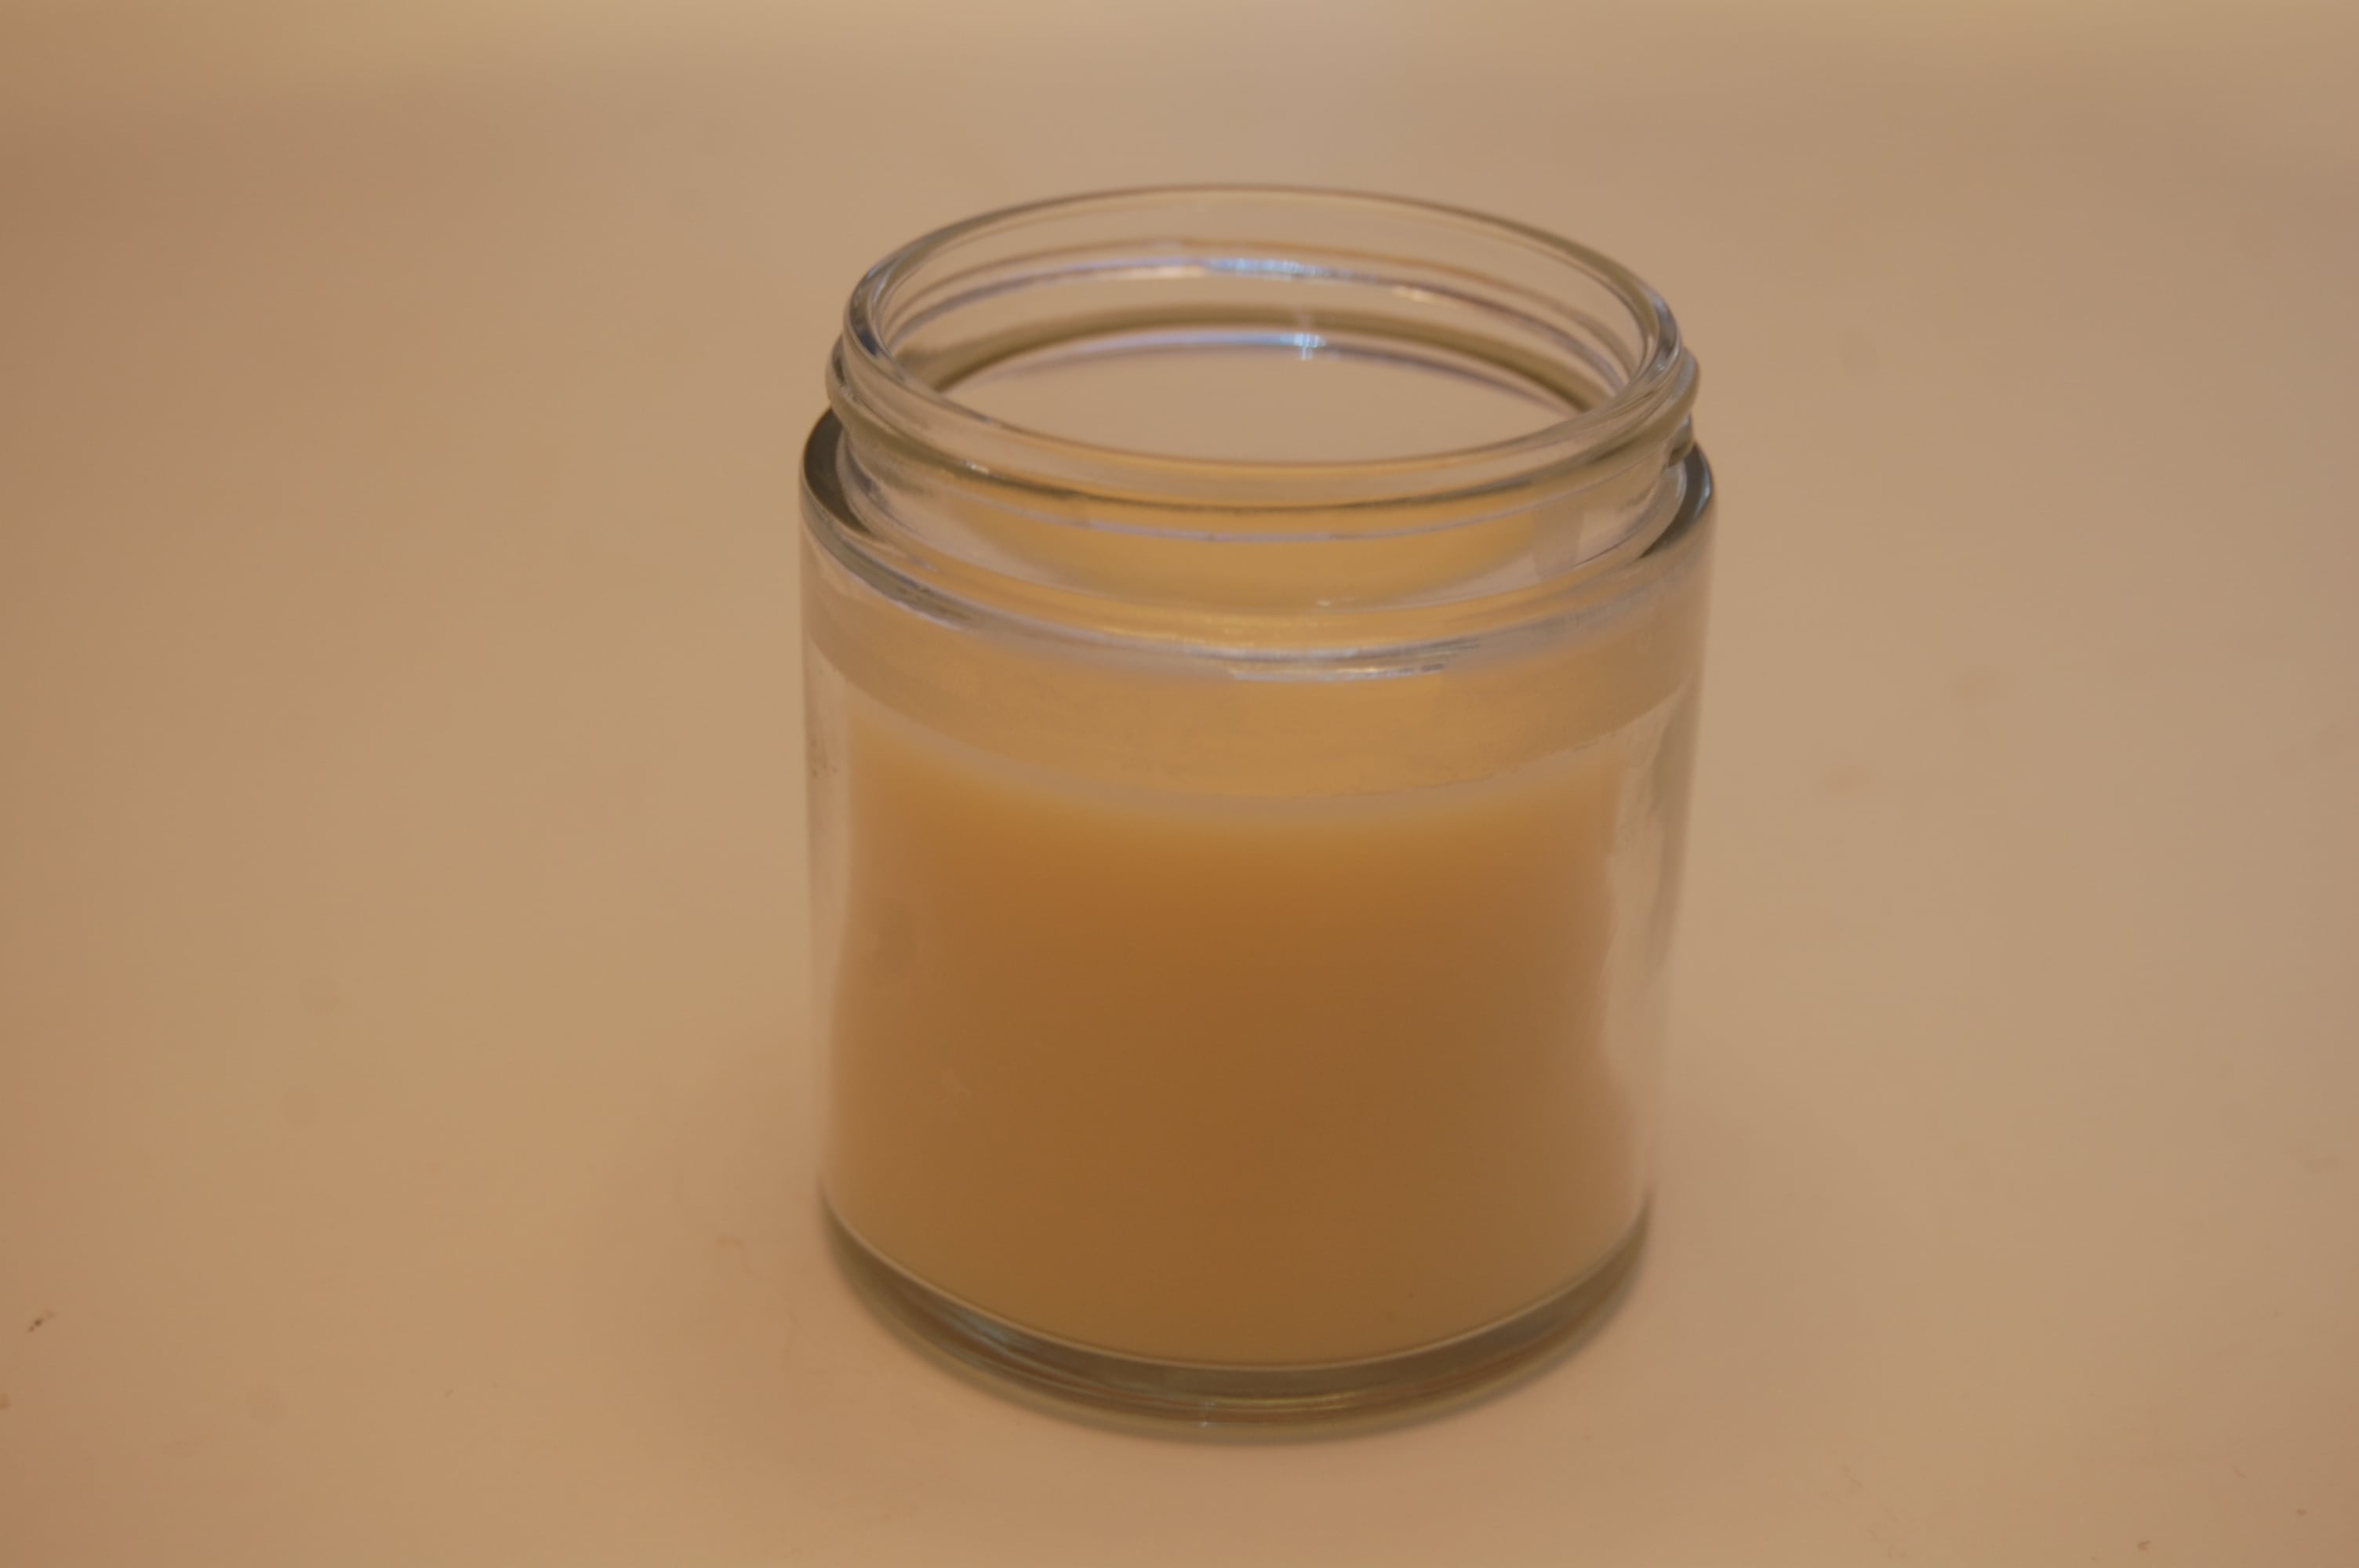
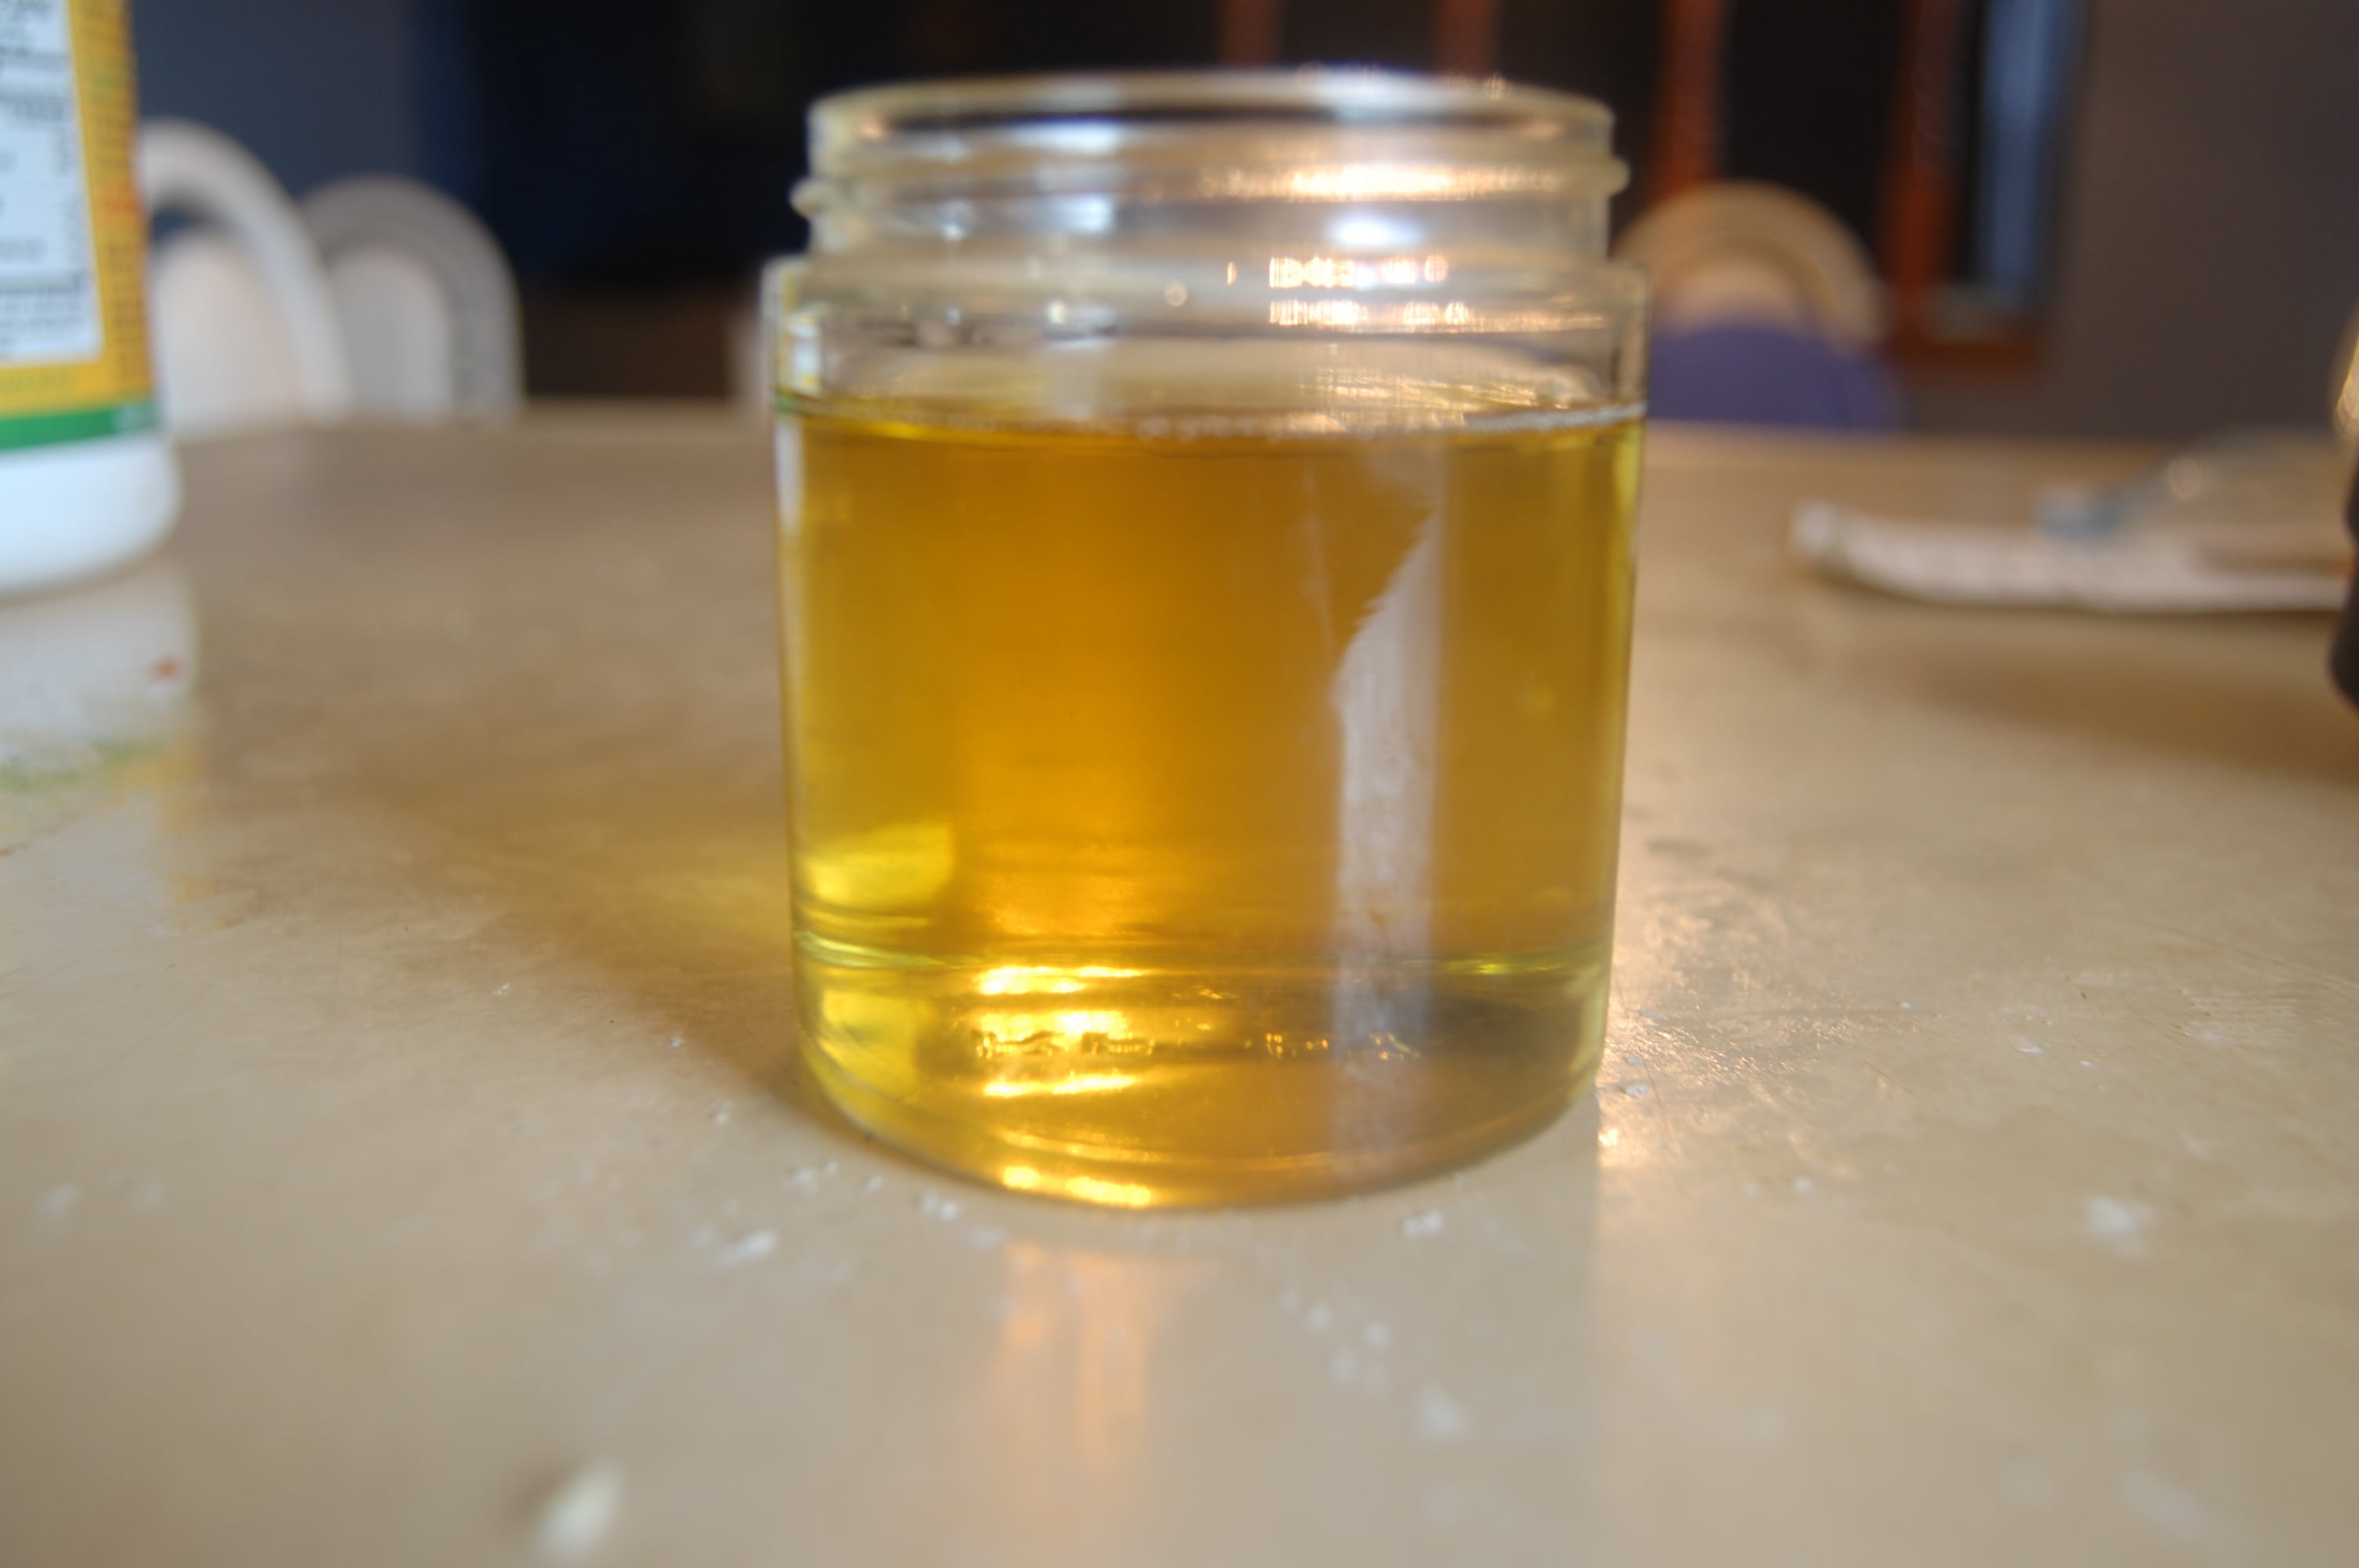
Pour into a 4-oz. glass jar and allow to cool completely.  (You can place the jar in the fridge to speed up this process, and can even store it there so the mixture is chilled when you initially give it to the baby.)  Interestingly, if left at room temperature, it stays a liquid.  If you put it in the fridge to solidify then remove it, it becomes a very soft solid.  This was unexpected.  I’d recommend storing it in the fridge so it’s cool for baby, and less messy.

To use, take a tiny amount and massage into the baby’s gums.  This can be used on adults with toothaches, too — it’s not just for babies!  Do be aware that clove oil isn’t safe in pregnancy, though (causes contractions), so don’t use it if you’re expecting.
That’s it!  So simple!

http://www.modernalternativemama.com/blog/2012/02/27/monday-health-wellness-homemade-teething-cream/?utm_source=rss&utm_medium=rss&utm_campaign=monday-health-wellness-homemade-teething-cream

How to Make Naturally Tinted Lip Balm

http://frugallysustainable.com/2012/02/how-to-make-naturally-tinted-lip-balm/


When I first set out on my quest to find a recipe for naturally tinted lip balm, I realized that there’s not a lot of information out there! So…it became a challenge for me and thankfully I found exactly what I was looking for. And this is how it goes, I discover something cool – we try it here at home for a while – then I share it with you :)
You know from this post that making lip balm is a part of my seasonal routine. For a minimal invest of time and money, I am able to keep my family — and my Mom, Dad, and dear friends — in lip balm for quite a while.
I love my lip balm recipe! In fact, I can’t even bring myself to buy it from the store ever again.
But it was missing something…a touch of color.
Natural Lip Tint

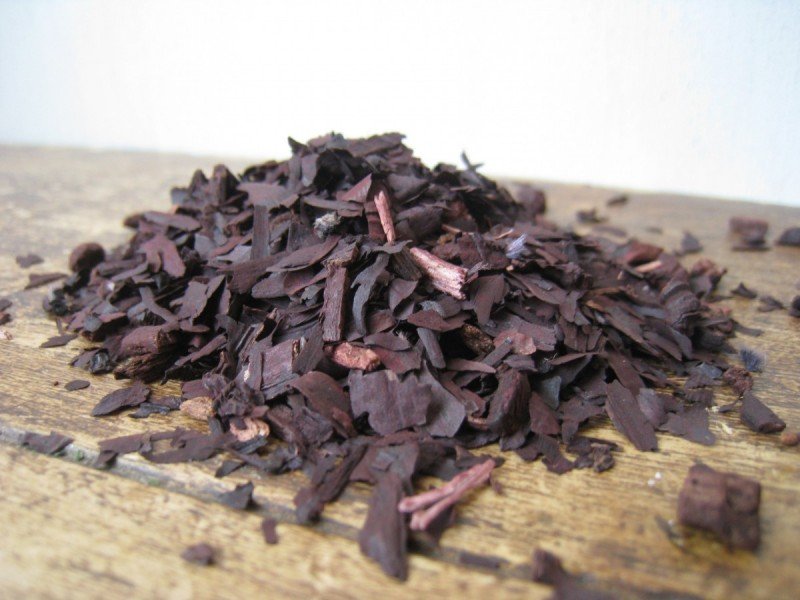
My search for a natural, plant-based, herbal solution for tinted lip balm lead me to Alkanet Root. Alkanet root has many beneficial properties yet it is primarily used as a very effective dying agent, wonderful for use in lip balms.
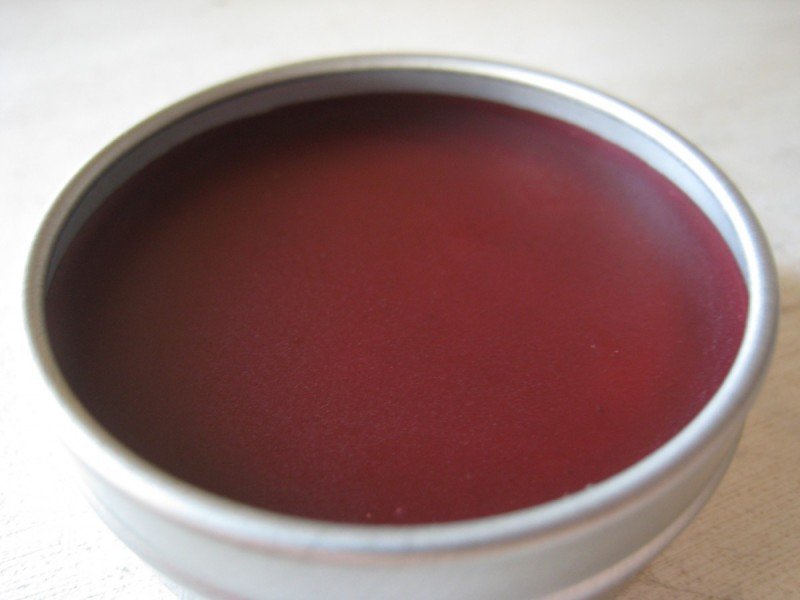
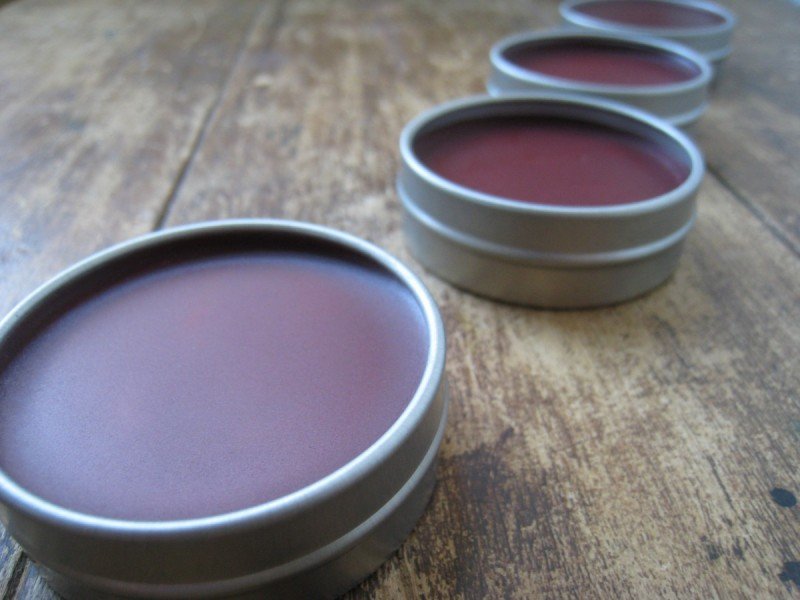
Used in my recipe, it gave the oils a beautiful deep burgandy tint and on my lips it was the perfect bit of color I had been looking for!
You can purchase and use Alkanet Root two way:
  1. Alkanet Root
    If using the root, plan on infusing 1 tablespoon of the root in 1/4 cup of oil for a week or so, in a small glass mason jar. Shaking daily until you are satisfied with the color. Note: This method will eliminate the need to use the root powder in the recipe below.
  2. Alkanet Root Powder
    Can be added straight into your recipe, in the amount that is suitable for your needs.
Naturally Tinted Lip Balm ~ The Recipe
Ingredients
-1 ounce coconut oil (2 tablespoons)
-0.5 ounce olive oil (1 tablespoon)
-0.25 ounce cocoa butter (1 1/2 teaspoon)
-0.5 ounce beeswax (1 tablespoon)
-1 teaspoon vitamin E oil
-1/2 teaspoon essential oils (optional, but fun to experiment with)
-Alkanet Root Powder to your color preference. To this recipe I add approx. 1-2 teaspoons.
Directions
1. In a small pot, or double boiler, over super low heat melt the coconut oil, olive oil, cocoa butter, and beeswax. Stir until just melted.
2. Remove from heat and add vitamin E oil, alkanet root powder, and your choice of essential oils. Continue to stir well in order to combine all the oils and distribute the alkanet root powder evenly throughout the mixture.
3. Pour into your containers and then allow it to cool on the counter until hard.

Notes
-Feel free to substitute, for the olive oil, any oils you may have on hand, i.e. jojoba, almond, apricot…
-I love to infuse the olive oil with nourishing herbs such as rose hips, burdock root, calendula, or comfrey. The list beneficial herbs could go on and on! Have fun with it :)
-Another opportunity for creativity comes in the form of your choice for essential oils. The most common additions are: peppermint, vanilla, orange, lavender, anise, cinnamon.
Where to Purchase
-The best source for Alkanet Root and Alkanet Root Powder that I have found is Mountain Rose Herbs.
-I love the cocoa butter from The Soap Dish and Mountain Rose Herbs.
-You can find beeswax here.
-And everything else you should be able to purchase at a local grocery store.
-Not ready for another DIY project? You may purchase this balm — lovingly made by me and infused with healing and nourishing herbs — over in my Etsy Shop.

Herbal Antibiotics and the Immune System

Another good resource: http://www.savewithgreen.com/green-tips/herbs/herbalantibiotics.html

Essential Oils, Bathing Recipes, Massage Oils, Salves, Tips & Ideas

Check out: http://www.surrealgardening.com/

Essential Oils, Bathing Recipes, Massage Oils, Salves, Tips & Ideas

Make Your Own Homemade Face Masks & Scrubs

25 Recipes for 6 Different Skin Types:

Once again...sooo many!  Check out:
http://beauty.about.com/od/skinflaws/a/facemasks.htm
Make Your Own Homemade Face Masks & Scrubs

Tuesday, February 21, 2012

Natural Toothpaste

http://herbscorner.wordpress.com/2011/08/17/natural-toothpaste/

Natural Toothpaste

Our family is trying to make the transition from fluoride toothpaste to natural.  We did find a recipe that seems to working at this time, however, we are open to more suggestions.  Here is the recipe that we have used, but a BIG WORD OF CAUTION: IT DOES NOT NEED SALT ADDED TO IT!!!  The baking soda is very salty and my kids got to the point that if this was the toothpaste that we were using on our teeth, they will just use a plain toothbrush.  The stevia is an excellent option for sugar free recipes.  You may also want to experiment with different flavors, I picked up peppermint and orange recently to see which one our family would like best.

Steps to make your toothpaste

  1. Pour 1/2 cup baking soda into a mixing bowl
  2. Add a dash of salt
  3. Add 1/4 cup of hydrogen peroxide
  4. Add 1 drop of peppermint oil
  5. Add a dash of stevia (more if you want it sweeter)
  6. Mix it all up until it becomes paste like. You may have to add more hydrogen peroxide to get the right consistency.

A few notes about the homemade toothpaste

  • You can store it in a plastic container to keep it from drying out.
  • If you’re not into the peppermint flavor, you could try ground cinnamon or vanilla extract.
Another quick and easy option is to get Peppermint extract (1/4 tsp.) from the Spice section of the grocery store and mix it with 1 tbsp. of baking soda. Add a dash of salt, mix it up, and you are good to go.

Homemade Deodorant – Easy, Working and Aluminum Free

| December 18, 2011 | 1 Comment
homemade deodorant

3 Affordable and Natural Homemade Deodorant Recipes

Giving birth changed me a lot and in many ways,… including that now I sweat more and smell more. Apart from the unpleasant changes, giving birth also motivated me to make more responsible choices for me and my family every day.
The deodorant was one of the first things I changed in terms of personal care products. I started with a natural and aluminum free deodorant from Weleda – a very easy choice as I use the Weleda calendula  series for my baby. As a DIY fan, however, I also decided to try a homemade deodorant.
At first I made a recipe with a baking soda which is very popular and widely used by crunchy moms. I loved it! And I was very disappointed to find out that after shaving I get a little rash from this deodorant. So, I made one without the baking soda and the rash was gone. Here I include both homemade deodorant recipes, because they both give great results. At the end, you will find a very easy and effective recipe for a homemade deodorant spray with herbs and essential oils.
Suit yourself and choose the one that works for you!

Recipe 1: Homemade Deodorant with Baking Soda

Ingredients:
  • 1/4 c. baking soda (anti-odor);
  • 1/4 c. cornstarch or arrowroot powder (for dryness);
  • 5 Tbsp coconut oil (antibacterial);
  • a few drops of essential oil (for additional fragrance).
Directions:
1. Mix the baking soda with the cornstarch or arrowroot powder. If you have sensitive skin, adjust the proportions of baking soda to cornstarch/arrowroot powder a as of 1:3.
2. Add the coconut oil 1 Tbsp at a time and mash it with a fork together with the baking soda and cornstarch.  Use as much coconut oil as you achieve the consistency you like. Note that coconut oil becomes liquid in hot weather and it is better to be kept in the fridge.
3. You can add a few drops of essential oil (tea tree, lavender, eucalyptus or spearmint).
4. You may store your homemade deodorant in an empty deodorant container or a glass jar.
Tip: Apply a single layer to avoid coconut oil stains on clothes.

Recipe 2: Homemade Deodorant for Sensitive Skin

Some of us have very sensitive skin and a natural homemade deodorant with baking soda and/or citrus oils may cause rashes and discomfort. Don’t be discouraged! You can still have your 100% aluminum free homemade deodorant even without the baking soda. The recipe is taken from Crunchybetty and is as easy and simple as the first one.

Ingredients:
  • 4 Tbsp. coconut oil (antibacterial)
  • 1-1/2 Tbsp beeswax beads or grated beeswax (solidifies the mixture)
  • 1 Tbsp Shea butter (relieves the after-shaving rashes)
  • 4 tsp clay (for dryness)
  • 20 drops essential oil ( lavender, tea tree, rosemary for fragrance)
  • Empty and clean deodorant container.
Directions:
1. Put the coconut oil and the beeswax in a pot and melt them slowly. Don’t forget to whisk often.
2. Once melted add the Shea butter and after whisking for 2 more minutes remove the pot from the heat.
3. Then add the clay and continue whisking  until you get a homogenous mixture.
4. Finally, drop in the essential oil and stir well. Leave the pot to cool. If you want things faster, put the pot in cold water bath and leave until the mixture begins to harden.
5. Spoon the mixture into the empty deodorant container and put it in the freezer for half an hour until it is completely hard.
6. Keep your homemade deodorant in the refrigerator if the weather is hot.

Recipe 3: Homemade Deodorant Spray

If you have a sensitive skin and don’t want to use baking soda, or want to avoid the stains on your clothes from the coconut oil, here is another homemade deodorant recipe:
Ingredients:
  • 2 Tbsp chamomile (disinfection, anti-skin irritations)
  • essential oils: 5 – 6 drops of coriander (antibacterial, anti-fungi), 5 – 6 drops of lavender (anti-stress) and 5 – 6 drops grapefruit seed (preservative in water based cosmetics).
Directions:
2 Tbsp chamomile are brewed in 2 cups water. Once cool, filter the potion and add the coriander, lavender and grapefruit seed. Everything is placed in a spray bottle. Shake it before use.
Have you ever tried a homemade deodorant? What is your recipe? Do you prefer your homemade deodorant over the commercial natural deodorant brands?

Homemade Lotion

http://thatthingilike.wordpress.com/2012/02/19/homemade-lotion/
I found a blog post on pinterest about making your own lotion at home by whipping oils.  As am experienced cold process soap maker I was intrigued.  I figured I would give it a try and document the process.  Quick disclaimer:  Be safe.  I discuss hot oils and sterilizing jars below.  You’re working around heat so take appropriate precautions and keep the kids away from the stove.  You take full responsibility for doing any of the steps outlined below.  Sorry, just had to say that.
Okay so where to start?  A couple things to know about the end product: this is going to be an oil-based lotion.  Duh, right?  Well it’s worth considering, because most of us are used to buying commercial lotions, which frequently are touted as oil-free.  I’ve posted about oil before, once about the oil cleansing method for facial care, and once about pre-shave oil for classic wet shaving.  I appreciate oil.  It can be difficult to overcome a lifetime of marketing messages that oil is bad, but your skin will love it.
Coconut Sunflower Lotion
Supplies: liquid oil, solid oil, essential oils, droppers, thermometer, glass jar, non-reactive bowl, spoon, spatula

First, consider your oils.  Different oils behave differently at room temperature.  As a general rule animal fats are solid at room temperature and vegetable oils are liquid.  However, there are oils like coconut and palm kernel that are solid at room temperature, anything below 76 degrees.  The nice thing about this temperature point is that it will keep its whipped form in storage but will melt very quickly when applied to your skin.
Coconut oil contains vitamin E, which is fabulous for your skin.  It also is mildly anti-microbial in nature, which makes it a good protective barrier.  Best of all, it’s stable at room temperature, which means you can keep a batch for a long time before it goes rancid.  So whatever combination you use, start with coconut oil as your primary component.  I went with a refined organic coconut oil, mostly because it lacks an overwhelming coconutty smell.
The lotion recipe I followed calls for a blend of 75% coconut and 25% liquid oil.  It’s up to you to decide which liquid oil you want to use.  You could siphon off some of your pre-shave castor/olive oil blend.  You could use sweet almond oil.  I decided to go with sunflower oil.  Sunflower oil is very light, non-greasy, has very little odor.  It is extremely high in vitamin E, linoleic acid, palmitic acid and stearic acid, all of which are wonderful for skin.  Plus I can cook with the leftovers.
Okay, moving on.  Here’s your supply and equipment list:
  • 12 oz coconut oil
  • 4 oz sunflower (ot other vegetable oil, liquid at room temperature)
  • essential oil and droppers
  • 1 non-reactive metal pot or double boiler
  • 1 spatula
  • 1 thermometer
  • 1 non-reactive metal or glass bowl
  • stand mixer, hand mixer, or immersion blender
  • sterilized glass container
First measure out your oil.  I prefer to measure by weight rather than volume so I used my food scale.  I measured 12 oz of coconut oil and added 4 oz of sunflower oil.  Check out the perfection on that scale.  The meticulous soap maker in me is always pleased with accuracy.
12 oz coconut oil and 4 oz of sunflower oil
12 oz of coconut oil and 4 oz of sunflower oil
Now you’re going to want to liquify that oil so that they’ll blend together evenly.  This is where your thermometer is going to come in handy.  Your best option is to use a double boiler, but in soap making I’ve always used a stainless steel pot directly over low heat.  It’s up to you.  The most important thing, though, is to put it over low heat and let the temperature rise slowly.  Oil is a great insulator so it will want to rise quickly and stay hot.  Keep your thermometer on hand and try to keep it below 125° F.  This is partly to ensure you don’t cook off the lovely beneficial components in the oil, partly to prevent accidental burns, and partly because it takes so long to cool down and you surely want to finish this up in a single afternoon.
Thermometer
Thermometer
Be careful not to let the thermometer touch the bottom or sides of the pot or you’ll get a false reading.  Notice how the coconut oil is melting and it’s starting to look like global warming at the north pole.  Also notice how it’s looking that way and we haven’t even cracked 100° F yet.  Don’t walk away.  I can tell you from experience that it’s almost time to cut the heat.  The temperature will continue to rise even after your remove it from the stove.  I let it sit for maybe a minute more, then removed it.  A few minutes later my thermometer topped out at 125° F.
Pour your oil into your stainless steel or glass bowl.  Let it sit for a few minutes so the temperature can come down.  You want it to cool before adding your essential oils because many essential oils have a much lower flash point than the temperature your base oils were just heated to.  Unless you know the flash point of your essential oils, assume you don’t want to add them until your coconut oil blend drops below 100° F.
If you haven’t worked with essential oils much you might be tempted to just put a splash in.  Resist that urge.  Essential oils are very concentrated and a little goes a long way.  Here’s the blend I used.  Note how relatively small the amount of essential oil is compared to the 16 ounces of carrier oils we blended.
  • 4 drops lavender essential oil
  • 4 drops spearmint essential oil
  • 3 drops litsea cubeba oil
  • 2 drops grapefruit essential oil
Just a note about grapefruit essential oil: I included it because it’s a great natural antimicrobial ingredient.  It can help extend the shelf life of your final product and you’ll frequently see it included in natural products for that reason.
Once you’ve added your essential oils and mixed them in with your spatula you’ll want to get your mixer going.
Oil and Mixer
Oil and Mixer. I love the look of liquefied oil. It's like liquid love.
The oil is too warm to set up and get creamy.  The point of blending it now is to try to incorporate a bit of air and cool it a bit.  I ran my hand mixer for a few minutes, then tried a whisk attachment, then tried an immersion blender with whisk attachment.  Frankly the standard hand mixer hardware was best.  I don’t own a stand mixer so I can’t say whether it would work more efficiently.
Mixer Parts
Mixer Parts
After a few minutes of blending the oil started to thicken.  It was still pretty liquid, but it was starting to gel a bit, if you will.
Blended Oil
Blended Oil
I decided to hurry up the solidification process by sticking it in the fridge for a few minutes.  I went and painted my nails, then checked on it.  Sure enough, it had firmed up.
Chilled Oil
Chilled Oil
Now we’re getting somewhere.  The oil was firm to the touch.  I put the mixer back in and started whipping away.  In no time it turned into a gorgeous creamy texture.  The mixing part is now essential because if you stop too soon you’ll have solid chunks in there.
Whipped Oils
Whipped Oils
Good enough to eat!  But don’t.  The sunflower and coconut oils are food grade, but those essential oils are not.  Plus it probably wouldn’t be very tasty.  Anyway, once you’ve got it all whipped and creamy you can transfer it to your jar.  Speaking of which, did you sterilize your jar?  You should.  You don’t want little microbes in there making your oils all rancid, do you?
Sterilizing Equipment
Don’t skip the cleanliness, people.  You’re making something you’re going to put on your skin. Work clean, and keep it sanitary.  And use tongs, for pete’s sake, that’s boiling water you’re looking at there.
Jarred Lotion
Jarred Lotion
And that’s it.  The 16 oz batch whipped up to just slightly more than could fit in my mason jar. I put the overage in a little container and put it in the fridge.  when I have room I’ll warm it to room temperature and incorporate it into the jar.
That’s all there is to it.  Slap a label on it, put a bow on it, give it as a gift.  Keep it in a cool place.  It’s soft enough that you could probably keep it in a pump-style bottle, too.  Apply it just a tiny bit at a time.  This is an oil-based lotion, so you won’t want or need a big dollop like you get out of a bottle of Jergens.
Here’s how the final batch looks in the jar.  It will take some tapping to get the air bubbles out so you can fit the most in.  As you can see I still have some bubbles in mine.
Homemade Coconut Sunflower Oil Lotion
I hope this tutorial helps.  Enjoy!
Update: I used this lotion on my legs this morning as a post-shave moisturizer.  Holy cow is it wonderful!  Not nearly as greasy as I thought it might feel.  The sunflower oil gave it a perfect texture and it smoothed on easily.  It’s been several hours and my legs still feel satiny smooth.  Totally luxurious feeling.  A++++ would make again!

Homemade Mint Toothpaste

http://suburbhomestead.wordpress.com/2011/12/21/homemade-mint-toothpaste/

Homemade Mint Toothpaste

Put the coconut oil and baking soda in a bowl and mash-up with a fork until blended. Add the peppermint essential oil, stevia and optional vegetable glycerin and continue to mash and stir until you’ve reached toothpaste consistency.

Homemade Vapor Rub

http://suburbhomestead.wordpress.com/2012/02/20/homemade-vapor-rub/
Homemade Vapor Rub
My Oil Collection
My Oil Collection (Photo credit: KateWares)
  1. Place oil into a small container and add in essential oils. You will want to start out at the lower amount of essential oils and work your way up as you will get to decide what your desired potency is.
  2. Then just rub on chest, under nose (carefully) and even feet. Rubbing on the feet and then covering with socks is said to be particularly great for coughs.

How to Make an Herbal Steam with Chamomile

Check out this video: http://www.youtube.com/watch?v=MN_02xKg134

Sick of Sick? Boost Your Immune System with Your Very Own Herb Garden

http://www.organicauthority.com/organic-gardening/home-herb-garden-to-boost-immune-system.html

kitchen

Poor old man winter. He's the most neglected and hated of the seasons. His uber-iciness causes our fallible human bodies to crumble when colds and the flu try to bust through and break our immune balance. But, it's actually pretty easy to keep winter ailments at bay when you've a kitchen pantry full of various immune strengthening teas and herbal supplements, but that constant onslaught of buying can get expensive (winter always seems to dig its death grips into April).
Cut your cost and consider growing an immune garden this spring.
Start planning and preparing now so your garden has time to flourish in time for next year's first freeze, when you can move your potted herbs indoors and form an immune kitchen garden!

How To (Outside)

Herb Companion has one of the most comprehensive immune garden plans. Kathleen Halloran details how to create a raised garden center for sun seeking herbs, and a low bed for herbs that favor shade. The garden is said to bring a great harvest that will last you well into winter. Preserve herbs by drying and storing for cold months.
Herbs that belong in the top bed: oregano, thyme and sage. Raise the bed from one to three feet.
Herbs that can go into pots: rosemary, horseradish and ginger. Bring in rosemary and ginger when temperatures drop. The herbs will fair well on a sunny windowsill.
Other immune boosting herbs to plant:
Echinacea: an immune booster. Echinacea also is a perennial known as purple coneflower.
Garlic: another immune-supporter that enjoys the sun.
Ginseng: detox aid and immunity-booster.
Lavender: calms nerves, boosts immunity.
Lemon Balm: antiviral.
Oregano: sinus-clearer.
Parsley: this herb has cleansing properties. Grow in a pot on a windowsill in cold months.
Peppermint: immune-booster.
Rosehip: antibacterial, immune-booster.

Next Fall

Get ready to haul the herbs indoors. For the smaller potted herbs, the windowsill (as mentioned above) is a great option. Make certain you place the other herbs near sunlight and “water when soil is dry a half-inch under the surface.” – CSMonitor.com
Other items for your indoor herb garden:
-- fluorescent fixture to supplement dimmer windows.
-- use lightweight potting mix.
-- feed every two weeks “with a balanced water-soluble fertilizer at the recommended rate listed on the package label.”
Another note: "indoor herbs grow slowly in winter months, so reduce fertilizer amounts to a quarter of normal from Oct. 15 until March 15.” -- CSMonitor.com
image: lizard10979
Source: Garden Wise

23 Home Remedies From The Spice Rack

http://tipnut.com/home-remedies-spice/
Assorted Herbs & Spices
  1. Allspice: Relieves muscle aches and pains. First grind Allspice into a powder then add water to make a paste. Spread on a strip of clean muslin and apply to sore area.
  2. Anise: Helps congestion from allergies, colds or flu, and settle upset stomach with gas. Make a tea by steeping 1 teaspoon of anise seeds in 1 cup of boiling water. Strain before drinking. Also chew a couple anise seeds as needed for bad breath.
  3. Basil: For relief of cough, make a tea of dried basil (1 teaspoon) per 1 cup boiling water. Steep then strain, add a spoonful of honey then drink. Fresh basil leaves can also help with warts.
  4. Bay Leaves: Helps with dandruff. Make a rinse by crushing a handful of bay leaves to one liter water (first brought to boiling then removed from heat). Cover and steep for 20 minutes. Strain and cool. Apply to hair and leave for 45 minutes to 60 minutes. Rinse clean.
  5. Black Ground Pepper: Stops bleeding, sprinkle a generous amount on a cut and voila! pain free (see Stop Bleeding With Ground Black Pepper).
  6. Caraway Seeds: Chew on a few seeds to help with flatulence. You can also make a tea by steeping 1 tsp seeds per cup of boiling water. Strain before drinking.
  7. Cardamom: Digestive aid, brew a tea with 1 teaspoon cardamom and 1 cup boiling water. Steep. Drink tea with meals.
  8. Cayenne Pepper: Sprinkle a pinch of Cayenne Pepper on meals to clear sinuses. A gargle made with water and cayenne pepper can help with sore throats. Also a natural appetite suppressant and increases metabolism. Sprinkle cayenne pepper on a toothbrush or add to a glass of water to gargle/rinse mouth–helps prevent gum disease and speeds up healing gingivitis (also see Gingivitis Home Treatments & Tips). For toothaches, make a paste with cayenne pepper and water, apply to sore area.
  9. Celery Seed: Relief from fluid retention: Make a diuretic tea by roughly crushing 1 1/2 teaspoons celery seed and steep in 1 cup boiling water (20 minutes). If you’re menstruating late, this infusion can be used to bring on menstruation. Also helps with high blood pressure and anxiety.
  10. Cinnamon: Mix 1/2 tsp of cinnamon to coffee or tea to help raise good cholesterol levels. Arthritis pain: try 1/2 tsp cinnamon mixed with 1 tsp honey. To help with heavy menstruating, add a bit of cinnamon to tea, coffee or sprinkle on foods.
  11. Cloves: Chew one clove for bad breath. For toothache pain, rest a clove against the sore area until pain goes away. You can also chew on a 3 or 4 cloves to relieve nausea. To relieve a sore throat, slowly chew on a few cloves.
  12. Coriander: Boil one teaspoon of coriander seeds in 1 cup of water, drink. Helps with high cholesterol.
  13. Cumin: Boil 1 cup of water with a teaspoon of cumin seeds, simmer for a few seconds. Strain and cool. Drink for cold relief.
  14. Dill Seed: Try swallowing a teaspoon of dill seed to stop hiccups. Also see this tip for hiccup relief: How To Stop Hiccups. Mask bad breath by eating a bit of dill seed.
  15. Fennel Seeds: Chew a couple fennel seeds for bad breath. For stomach cramp relief, you can brew a tea by steeping 1 teaspoon seeds per cup of boiling water. Strain before drinking. Crush seeds slightly when making tea and is good for flatulence.
  16. Garlic Powder: Mosquito Repellent: Make a garlic powder and water paste. Apply to pulse points, behind knees, on shoes and ankles and a dab or two on your cheeks or somewhere on your face and neck–-keep out of eyes. See How to Prevent Mosquito Bites for more ideas.
  17. Ginger: Brew a tea with 1/2 teaspoon ginger per cup of boiling water. Strain before drinking. Helps with nausea (also see 12 Home Remedies for Nausea). If you have fresh ginger on hand, chewing a bit is more effective than ginger tea. For headache relief, make a paste of ground ginger and water, apply to temple area, also see this headache soother: Home Remedy: Headache Soother Sachets. Mix 1/2 teaspoon of ground ginger with 1 teaspoon of honey for cough relief. Drink tea to fight motion sickness (or chew on a fresh piece). Can also help with heartburn.
  18. Mustard Powder: To relieve congestion, mix 1 tablespoon of mustard powder with 1 liter of hot water then soak feet. Mustard plasters have been traditionally used for treating coughs, colds and the flu.
  19. Mint (peppermint or spearmint): Brew a tea with 1 1/2 teaspoons dried mint per cup of boiling water. Strain before drinking. Helps with stomach aches and cramps.
  20. Sage: Control hot flashes (caused by menopause) by drinking sage tea three times a day. Boil 1/2 teaspoon sage per 1 cup boiling water. Steep (10 minutes), strain and drink.
  21. Salt: Canker sore remedy: Apply salt directly to the sore or rinse your mouth a couple times a day with a strong salt water solution–stings. See Home Remedies For Canker Sores for more remedies. For mosquito bite relief, make a salt and water paste then apply to bite area (see Over 40 Mosquito Bite Itch Relief Tips).
  22. Thyme: Sooth a cough with thyme tea. Brew 1 tablespoon dried thyme in 1 cup boiling water. Strain then drink (for sore throats, gargle with this tea). Helps relieve gas and stomach cramps. Brew a tea with 1 tsp dried thyme per 1 cup boiling water. Strain before drinking.
  23. Turmeric: Fever relief: Mix 1/2 teaspoon turmeric powder with 1 cup of warmed milk, add a teaspoon of honey.
Note: These are simply home remedies I’ve collected, they’re not professional medical advice. Be aware that some spices and herbs may conflict with prescribed medicines–always check with a doctor before treating yourself with any method.

Sunday, February 19, 2012

Lemon Honey Tea Base ~ Preparing for Winter


http://catherineboley.blogspot.com/2009/08/preparing-for-winter.html

Homemade Hairspray

http://www.diynatural.com/how-to-make-hairspray/

I was so excited to share this recipe for homemade hairspray that I had a hard time conducting an adequate test phase! I’m happy to report that after using it every day for over a month, I’ve been thrilled with the results. Here’s how and why I make my own hairspray.

My issues with commercial hairspray

Nowadays I have very thick, curly, long(ish) hair and need to use a generous amount of hairspray no matter how I style it. (My hair scares Matt if I don’t tame it with at least a little bit of hairspray.) I used to be a fan of maximum hold hairspray, but it left my hair so crunchy my 4 year old nephew wanted to touch it every chance he got. The chemicals and cost of keeping my coif looking good frustrates me. I cringe when I think about the chemicals I inhale with cheap hairspray, not to mention that is sits on my hair all day. The cost of natural hairspray tends to make me cringe too.
It’s time for something different.
To my delight, Matt received a basic recipe for homemade hairspray from a diyNatural reader named Charli. I. Was. Giddy!
I tested the recipe, made a few tweaks, and came up with…

Citrus-Lavender Hairspray

  • 1 orange or lemon
  • 2 cups water
  • 1/4 cup rubbing alcohol or clear grain alcohol (vodka, gin, etc.)
  • 6-8 drops of lavender essential oil
How to make hairspray1

Step 1

Cut a whole orange or lemon into wedges and combine with 2 cups water in a small pot. Boil over medium high heat and reduce liquid by half.
How to make hairspray2

Step 2

Strain liquid through cheesecloth into a measuring cup. If you boiled too much liquid out add water until you have 1 cup. Allow citrus juice to cool.
How to make hairspray3

Step 3

Add alcohol and essential oils to the cup of citrus juice. (Feel free to experiment with your favorite essential oil or leave them out altogether.)
How to make hairspray4

Step 4

Use a funnel to pour into a spray bottle (at least 10 oz.). Shake gently before each use.
How to make hairspray5

A few things to note…

This is not a maximum hold hairspray that will freeze a prom up-do or 80′s bangs. I can say with confidence that it’s a flexible hold formula. I was a loyal user of firm hold hairspray for years before trying this formula… now I PREFER this to my old sprays.
This formula has been tested on my brunette hair. Hairspray made with an orange has a bit of a darker tint, so if your hair is light-colored you may want to use a lemon.
Grab the orange or lemon sitting in your fruit bowl and give this hairspray a whirl

Homemade Shampoo

http://www.instructables.com/id/Homemade-Shampoo/

Hint: you have to click on each little pic on this site to get each step!

DE-FLAKE

Followers